


The Ultimate Indoor Games Room
Hi There,
Episode 3 of Space Invaders show aired last night on Channel 9 & boy, oh boy, did it receive a flood of positive comments from around the country. Seems like everyone wants their very own games room in their home! This week’s renovation was for wife Jo, husband Shayne & their two teenage sons. My job was to convert a rumpus room that the family barely used into a modern-day games room that would be used every day.
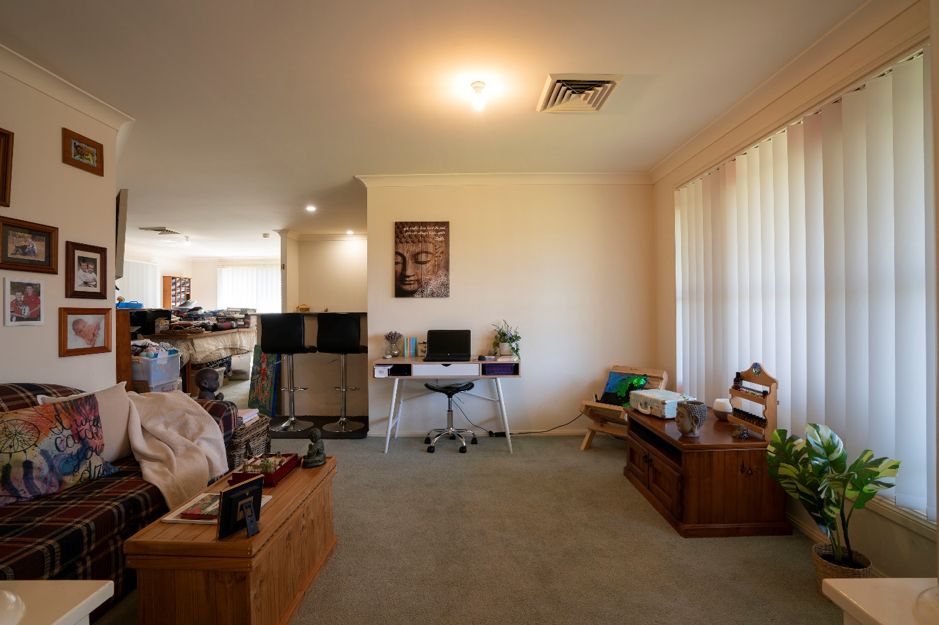
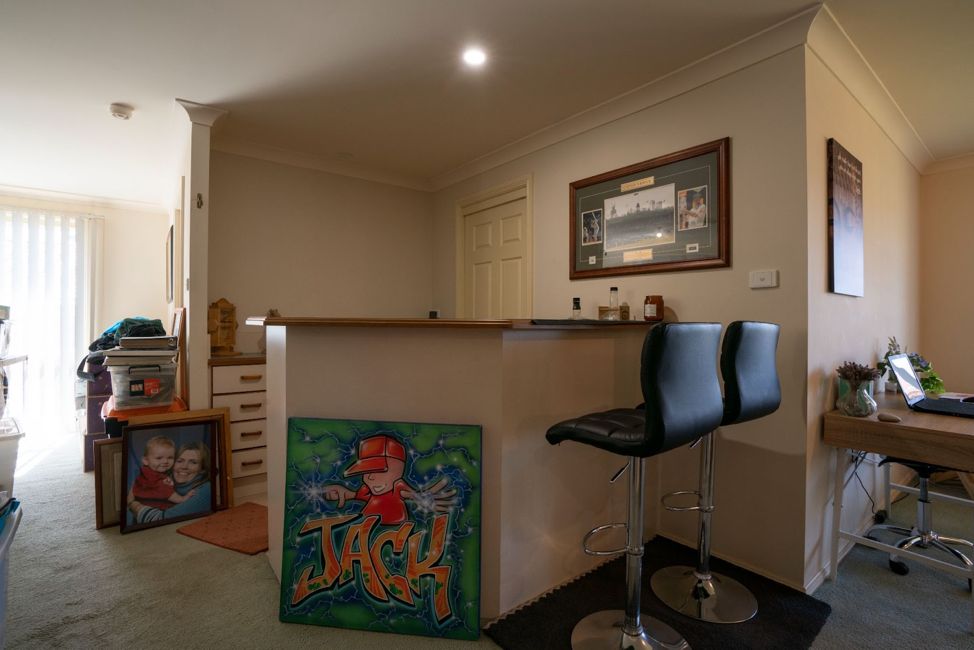
FAMILY ROOM – BEFORE
Built in the 1990’s, this well-maintained family home was in fantastic condition but just starting to look a little tired & lifeless. Those apricot-coloured walls were very popular 30 something years ago but today, look uninspiring. Being a 30+ year old project home, fixtures & fittings were kept to a minimum back then to keep construction costs low. This included the bayonet ceiling lights which is doing these large rooms, no favours in terms of illuminating the space. I think you’ll agree the rooms appear dark, dowdy & drab.
The vertical drapes did a good job of providing privacy but looked rather flat in the space & the carpet was well past its use by date. The heavy, solid timber furniture visually blocks the air space in the room & I think no explanation is needed for the tartan fabric sofa with its rounded back! We all love family photos but the haphazard arrangement with many of them (placed way too high up on the wall), create a situation where you don’t know where to look, when you first enter the room.

As with every renovation, stage 1 is always strip-out. Out went the vertical drapes, the carpet, thin skirting boards & the old bayonet ceiling lights. Demolition was a simple task, taking only 30 minutes to complete by my 2 chippies.
Having only 3 days to renovate this space, 4 painters quickly jumped in, painting the ceilings in Taubmans Crisp White & the walls in Taubmans Struan Grey. These colours instantly modernise the space & make the room feel larger. However, lighter colours can sometimes feel a little sterile so to inject much needed personality into the room, I installed a timber feature wall using the Porta Timber Pre-Primed Cirque Mouldings which were liquid nailed & nail gunned to the wall. They provide a beautiful architectural feature to the room & something that instantly hits your eye when you enter the room. Once installed, they were painted in the moody colour of Taubmans Grey Moggy that ties in much better with the new Wynstan Verishades in the slightly darker colour of Eclipse Night.
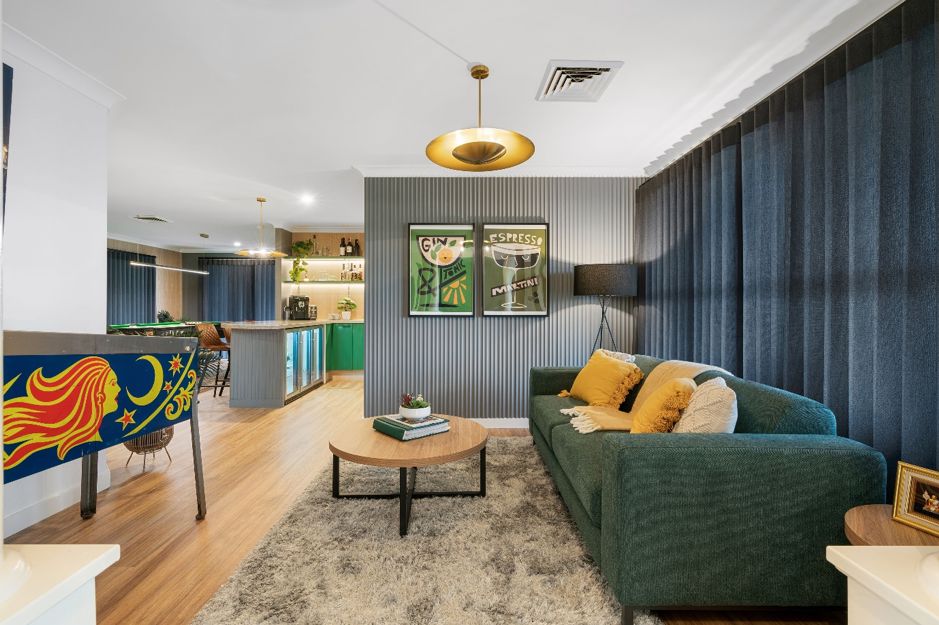
If you’re studying my before & after photos closely, you’ll no doubt have already noticed the beautiful new floors … Flooring Xtra’s Merseyside Linacre Hybrid Floating Floorboards in Spotted Gum were my product of choice & being a hybrid flooring will withstand all sorts of knocks & bumps. They not only make the room look substantially bigger (as carpet tends to make rooms appear smaller) but are a far more practical flooring solution, especially when people have way too much fun, get drunk & spill their drinks! Beacon Lighting’s gorgeous 3 Light Loft Pendant in brass finishes off the room beautifully as does that stunning emerald green, 3-Seater Sofa from Fantastic Furniture.
WHO NEEDS THE PUB ANYWAY!
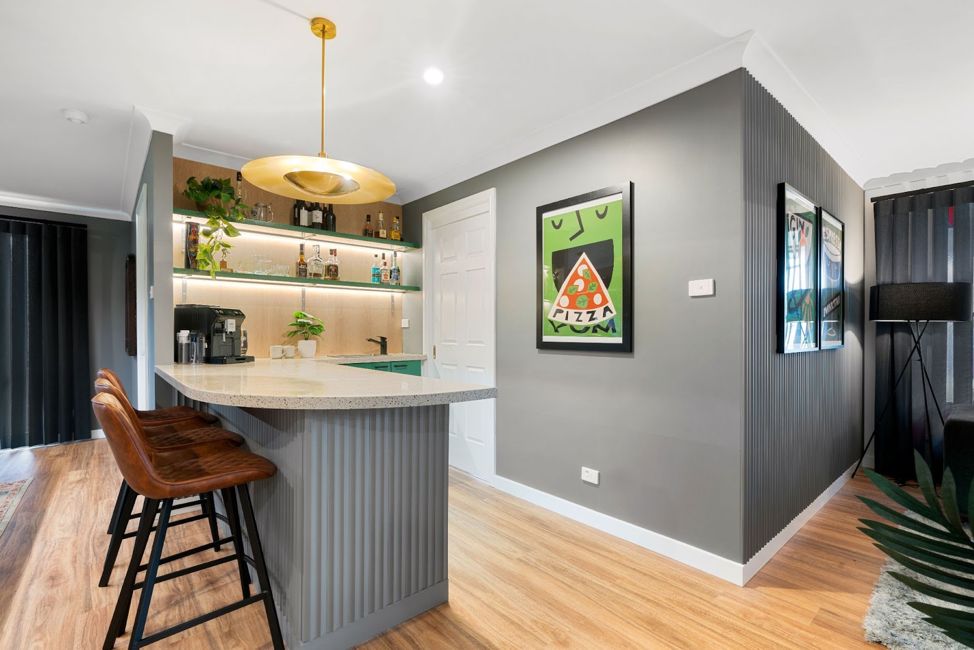
Let’s now turn our attention to the home bar area. Hardly the sort of place you’d want to sit with your friends & share a drink on a Sunday afternoon, eh? The high bench would have originally been designed to replicate the height of a bar you’d find in a commercial pub but sort of misses the mark in this residential home. Whilst practical, it cut this corner of the room off, making it feel slightly disjointed from the other parts of the room. My vision was to create a funky, modern pub inspired room that the family & visitors to the home, could sit at & converse together, in a more open plan way.
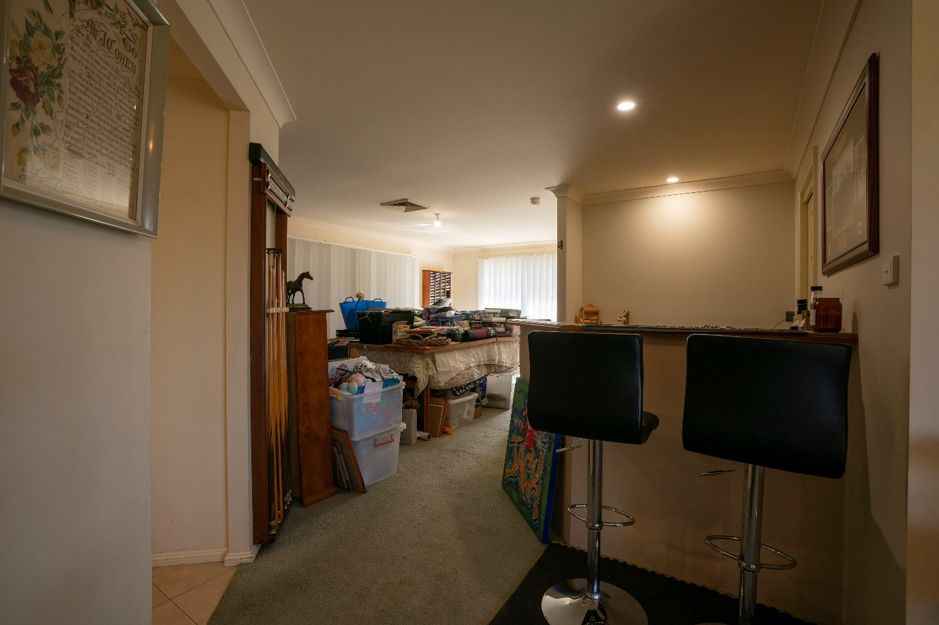
On closer inspection, there wasn’t a lot of practical storage space in the former bar area & the teeny-weeny bar fridge that was there previously, was too small to be taken seriously. We demolished the cabinets & replaced them with brand new Kaboodle cabinets & used Kaboodle’s Paint Your Own Door range which I painted in Taubmans Green Turtle. You’ll notice those gorgeous Porta Timber Cirque mouldings have been replicated again in the bar area, so it ties cohesively together with the entry part of the room.

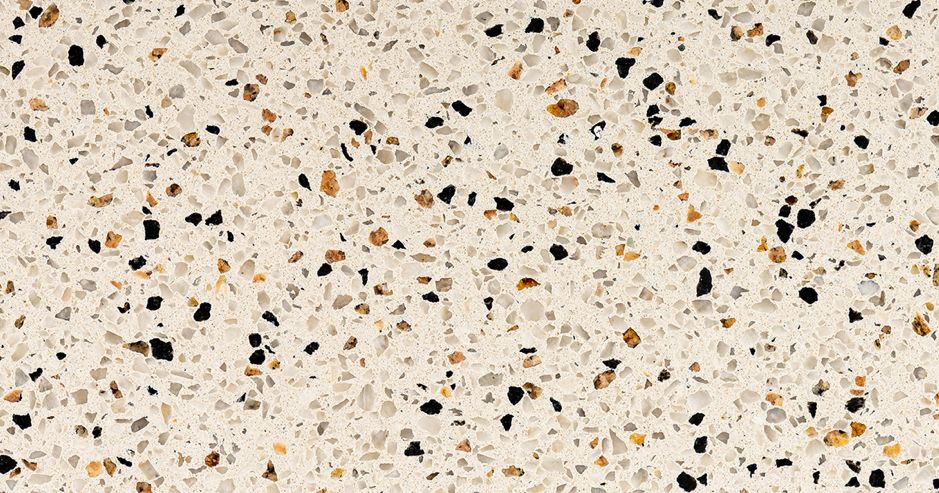
One of my favourite items in this room is that stunning L-shaped benchtop with a curved edge from Granite Transformations. Due to my short lead time, I had to best guestimate the exact measurements of my benchtop, before the cabinets went in. It’s always better to do things the other way around – get your cabinets in first, then call your benchtop company to do a check measure. Luckily the new benchtop slid into place perfectly, without any issues or noticeable gaps! I chose the Florentine stone finish which is a speckled walnut, rich chocolate brown, tan & grey finish, all rolled into one. It’s the added details like this that make you go WOW when you walk into a room!
To give the bar more oomph, a designer look & generally more warmth, I added American Oak Wall Panels From Trademaster on one wall with overhead shelving & LED strip lights to make the bar look super sexy. As for that small bar fridge – problem solved with a new Artusi AOF3S Triple Door Bar Fridge From Appliances Online which now holds a staggering 247 x 500ml bottles!

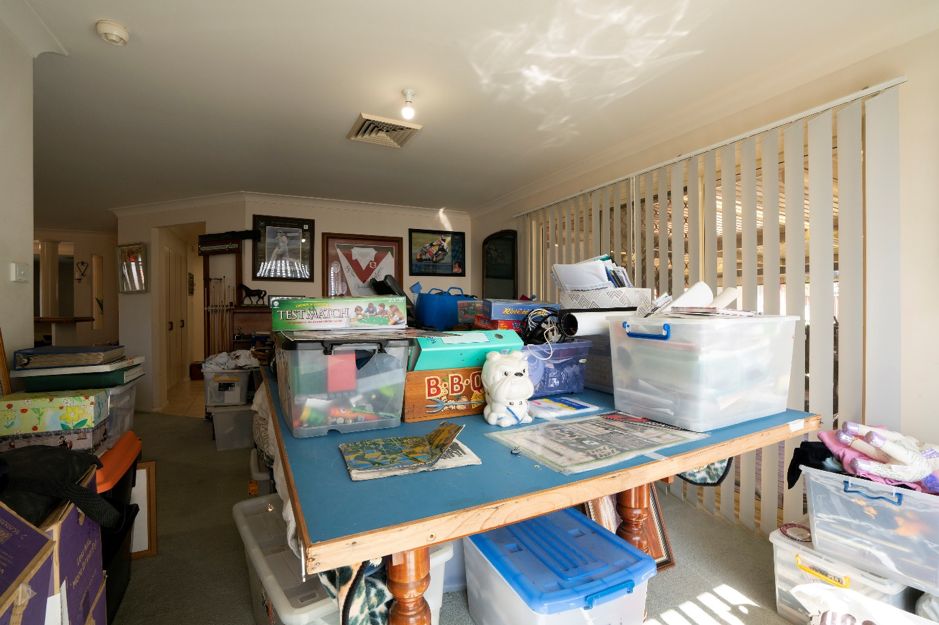
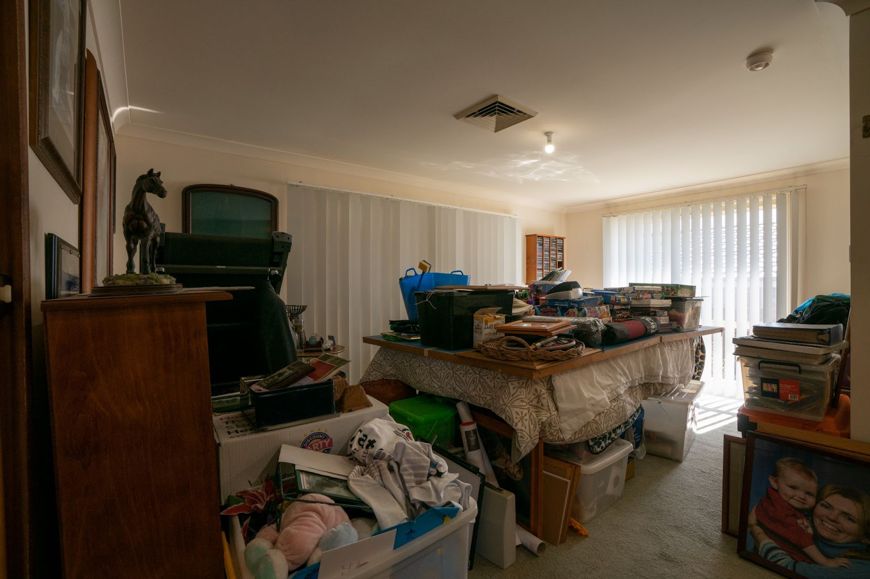
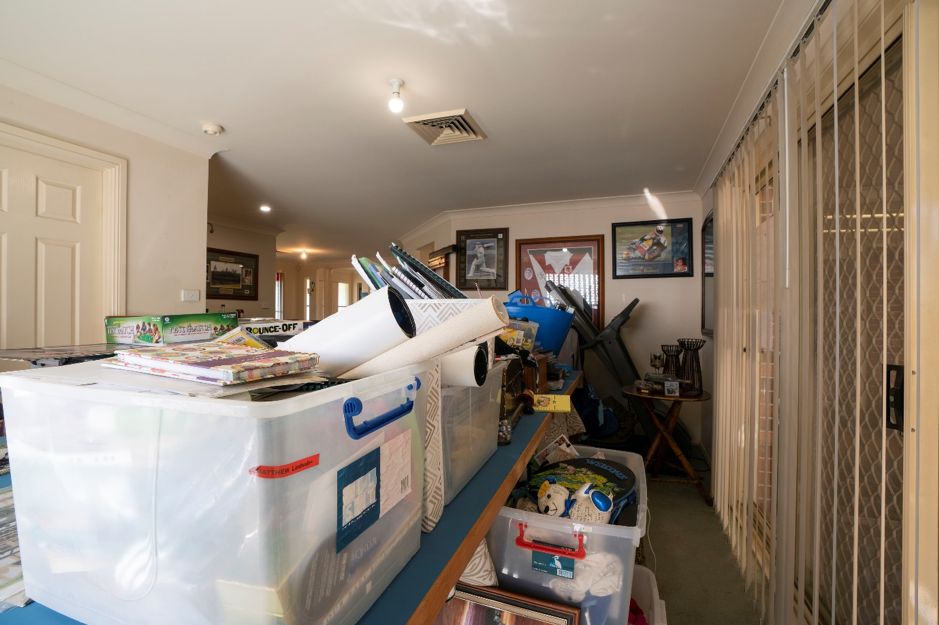
POINT THE WAY (THE POOL TABLE ROOM)
This I know for a fact; you can’t have the ultimate games room without a full-sized pool table! Gifted to Jo from her late father 20 years previously, the old pool table had become nothing more than a dumping ground for boxes of clutter. Not only was this unintentionally disrespecting something her father once owned but it was taking up a big chunk of space, rendering this part of the room unusable.
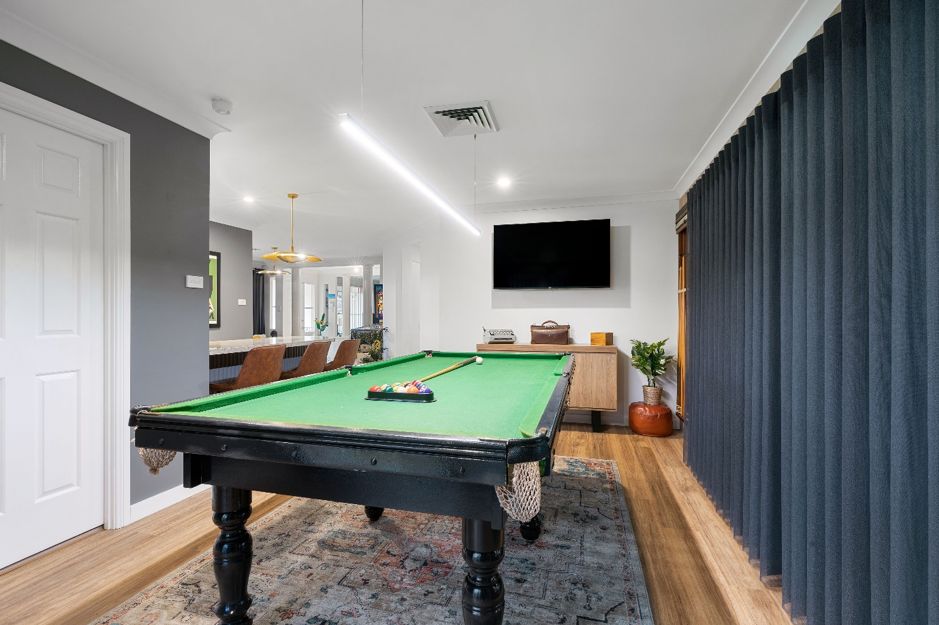
In reasonably good condition with the odd scratch & scuff mark here & there, I decided to laminate paint the pool table in Taubmans Casino colour which instantly modernised the pool table. Some of you will be quick to jump in & say “oh, you should have left the pool table as is Cherie!” but my rationale behind this move was there was a timber wooden floor underneath, timber wood panelling on the walls, timber furniture, you get the gist … Wood on wood can be very overpowering so painting the table black, now makes it the hero piece in the room & a great way to honour Jo’s dad.
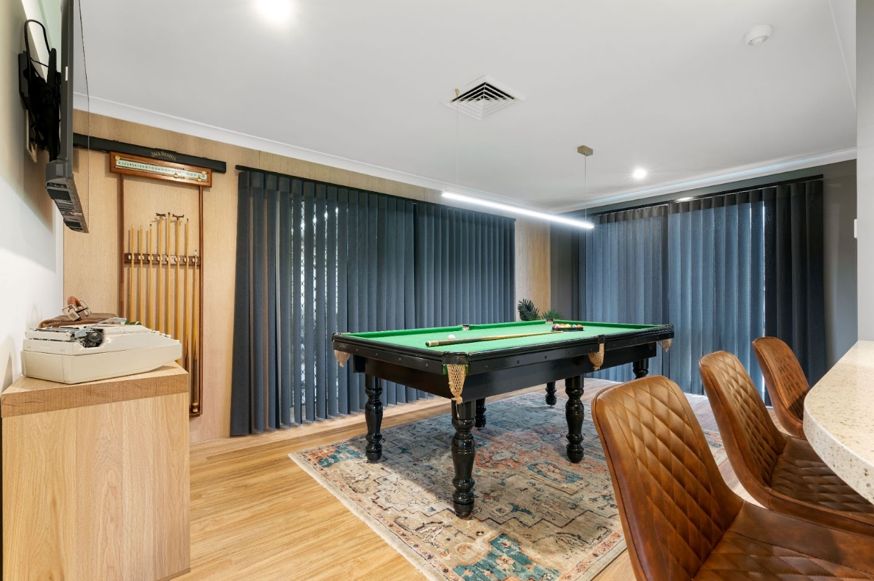
I continued the hybrid flooring into this section of the room, added more of the American Oak wall panelling to some of the walls & finished the room off with those darker Wynstan Verishades again. A large LED track light provides specific task lighting over the pool table & will create a real moody atmosphere at night. New electricals were run down the wall for a wall mounted TV, perfect for watching the footy while you’re playing pool!
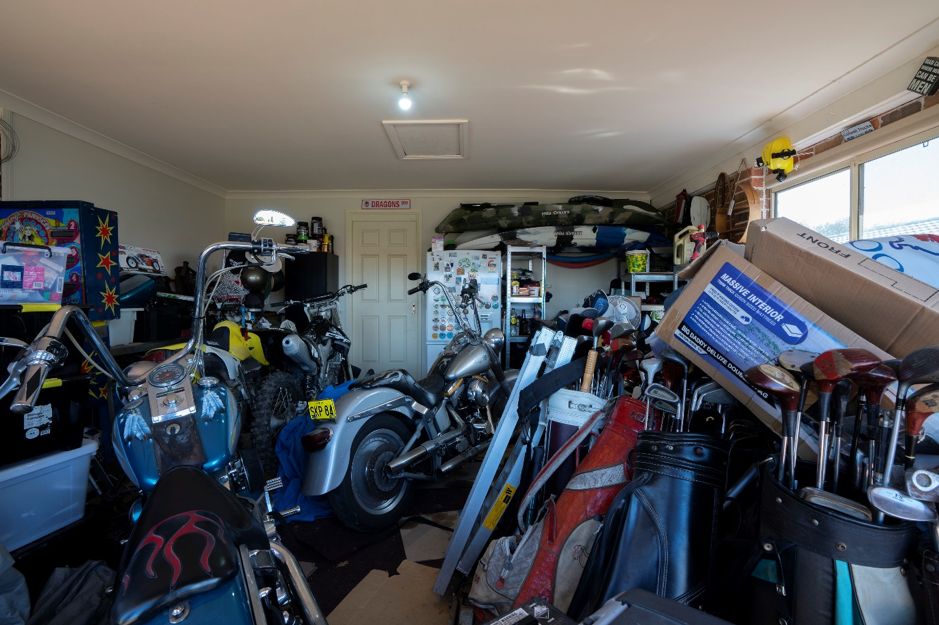
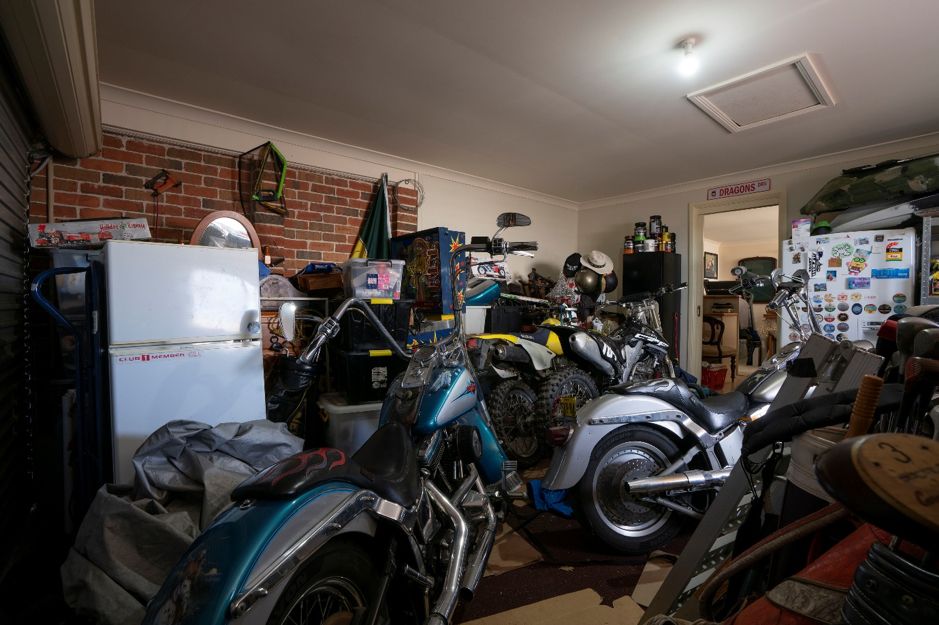
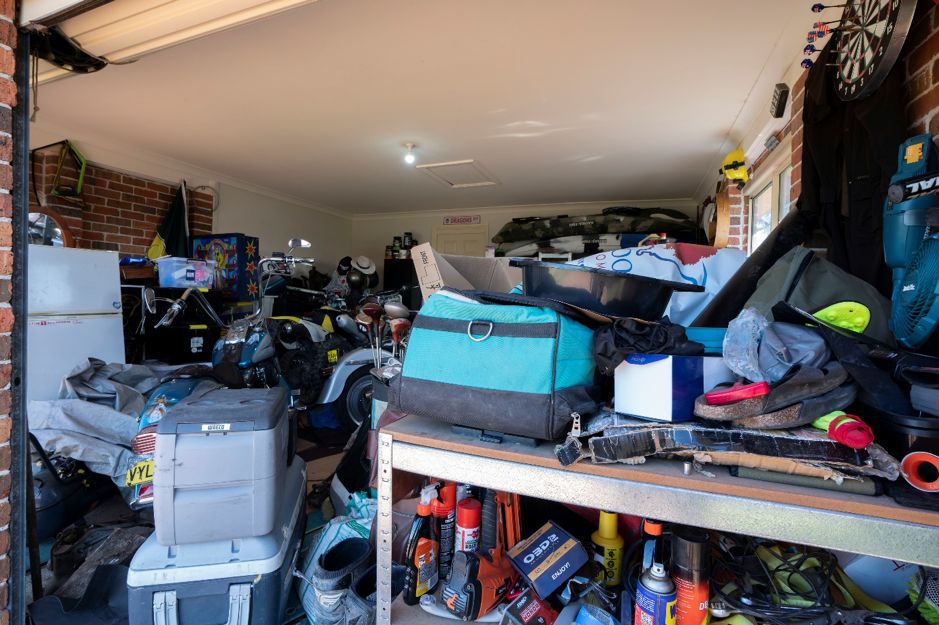
DID SOMEONE SAY MOTORBIKES?
Finally, let’s look at the garage. This family are motorbike crazy & have racked up quite the collection including Jo’s dad former Harley Davidson which has sat idle for many years. Dad, Shayne wanted a space where his two boys & him, could build & repair motorbikes but the cluttered garage previously, didn’t provide any real opportunity to do this. I knew I had to leave a big chunk of the space empty for all their motorbikes to fit back in.
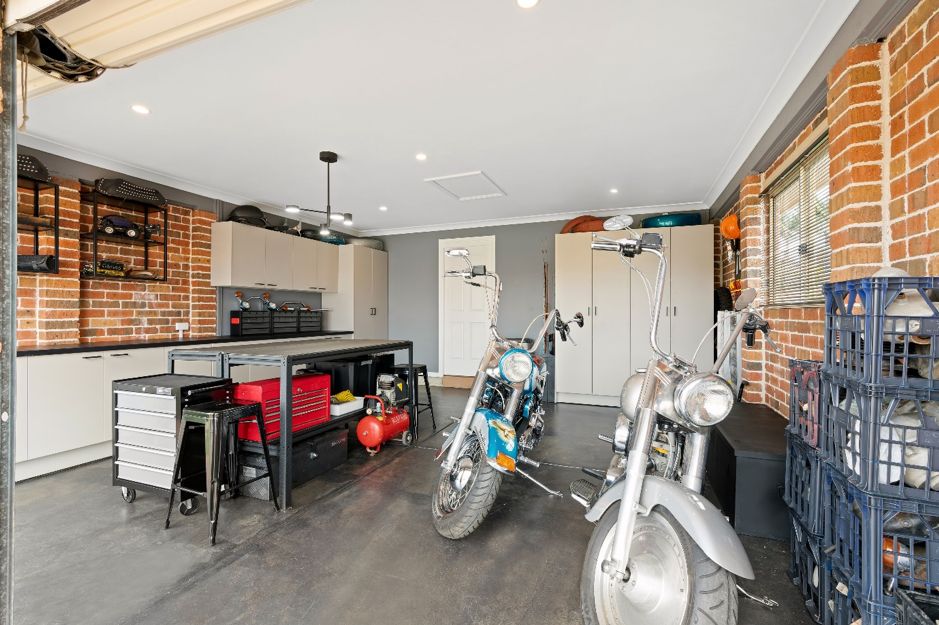
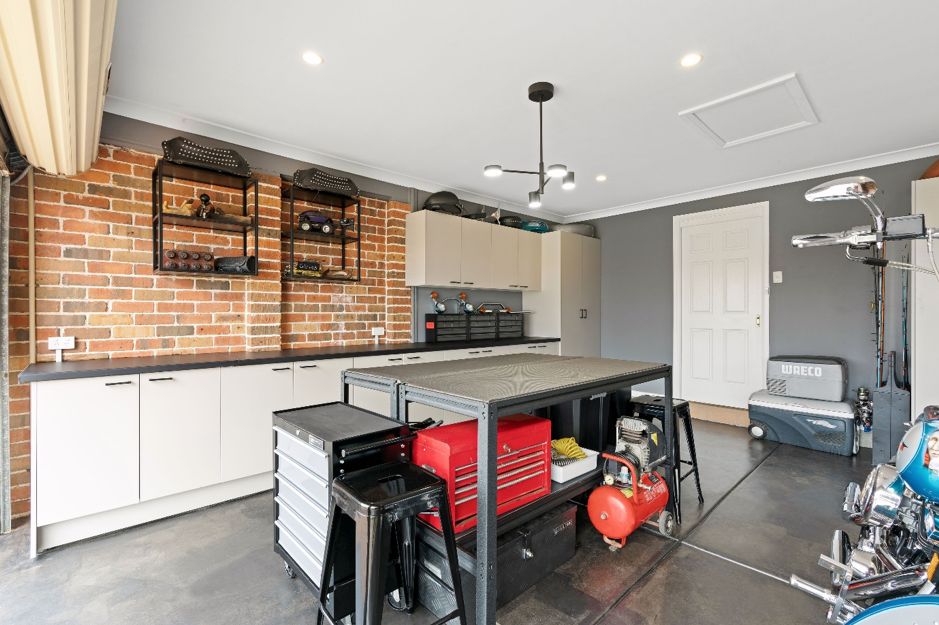
The garage already had painted plasterboard mixed with red brick walls, the perfect aesthetic to give the space a slight industrial vibe. I didn’t touch the red brick but painted the plasterboard walls in Taubmans Oil Shale, the perfect colour for hiding dirt & grease!
As always, practical storage is always one of my top priorities so a huge bank of Kaboodle cabinets was installed, along with Kaboodle’s black overhead steel shelves & cupboards. To make sure there was lots of practical bench space, I installed the Volcanic Black Xtreme Matt Laminate Benchtops from Trademaster straight over the top of the cabinets. And just to finish it off for those bigger motorbike parts, I added two simple workbenches & placed LED task lighting overhead for those times when motorbike repairs extend into the night. The floor was finished off with a paving paint & once all their gear was loaded back in, the garage was ready for Shayne & the boys to tinker away.
All up, this renovation cost $40,168.07 for all the materials, labour, new furniture & styling items at full retail cost. Of this, materials accounted for $31,712.07 & labour at $8,456.00. The uplift in the property value was $ 85,000, resulting in a net profit of $44,813.93 for these deserving homeowners.
There is so much fun to be had in this house now & I received a phone call from the homeowner Jo, just a few days after we’d left the property. She rang to tell me that her husband & her had been laying in bed about 2am in the morning, listening to the music & laughs of their teenage sons, playing pool with all their friends into the night. Whilst most of us would be screaming for quiet at that time of the morning, they were happy that the family were enjoying good times again, all within their home.
This reno proves that your home can really have whatever you want, even if it’s totally unconventional. It’s your home, do with it what makes you happy. Tune in to Channel 9, next Saturday at 7:30pm to watch Episode 4, a master bedroom & sunroom makeover in a heritage style house!
As always, if you have any questions on this episode, be sure to ask them below & my team or I will answer them promptly for you. Until next week…..
Much love,
Cherie x


There are no sliders to show before and after – just before?
Hi Michelle,
Not all photos are sliders. At the start of my blogs, I put the before photos up front but then as I start to explain how I renovated the rooms, the before & after sliders appear. All slider images have a caption underneath the photos that say “drag the arrow left to right to see the before & after image. Hope this explains. CB x
Yes sliders appears to be working in Chrome now.
As always Cherie you put your heart into your projects! Great job on the old rumpus room and garage. We did your RFP Seminar in Brisbane many years ago and have used your ideas when renovating since. Good on you for keeping up on your projects and inspiring others. Cheers Terry
Thank you so much Terry! CB x
What a fabulous transformation! Simple ideas but so effective!
Glad you liked it Chrissie. CB x
Love the new outcomes. As always Cherie you do an outstanding job and design. Very effective transformations. Love your work.
Thank you very much Maria. CB x
Your taste of topic is very informative. Keep posting!
https://www.ye7best.club/?r=ajc3002
Thanks! Cherie Crew x