How to tile like a professional
Learn Cherie Barber’s steps on how you can tile like a professional right here.
In this video you’ll learn:
- A checklist on what you need to be able to tile
- When to waterproof and who can waterproof
- The steps on how to tile splash backs, walls and floors
TRANSCRIPTION
[00:00:09] I’ve been a professional renovator now for over 20 years and I can’t tell you the dramatic difference that new tiles can bring to your property. Now it doesn’t matter if you’re tiling your bathroom, your kitchen splash back or even the floors across your house, tiles make a huge difference. Good news is they’re versatile, low maintenance and they’re very inexpensive to buy these days. And they come at a huge range of colors and textures. So in this video I’m going to teach you the basics of how you tile like a professional tiler. [00:00:38][29.6]
[00:00:47] For your floor area measure the width and length of your bathroom. If you’re planning a standard bath then divide up the floor space there that. That’s your floor area. For your walls; measure the height and width of each wall, allowing for openings like windows and doors. Make sure you order your tiles in one batch to allow for slight variations in color and texture between different batches of the same tile and order an extra 10 percent of both your floor and wall tiles for contingency. But things like cuts wastage and breakage. [00:01:18][31.2]
[00:01:23] In your toolkit you should have:
- tile cutter
- a scriber or a heavy duty cutter
- a tile nibble
- tile spaces
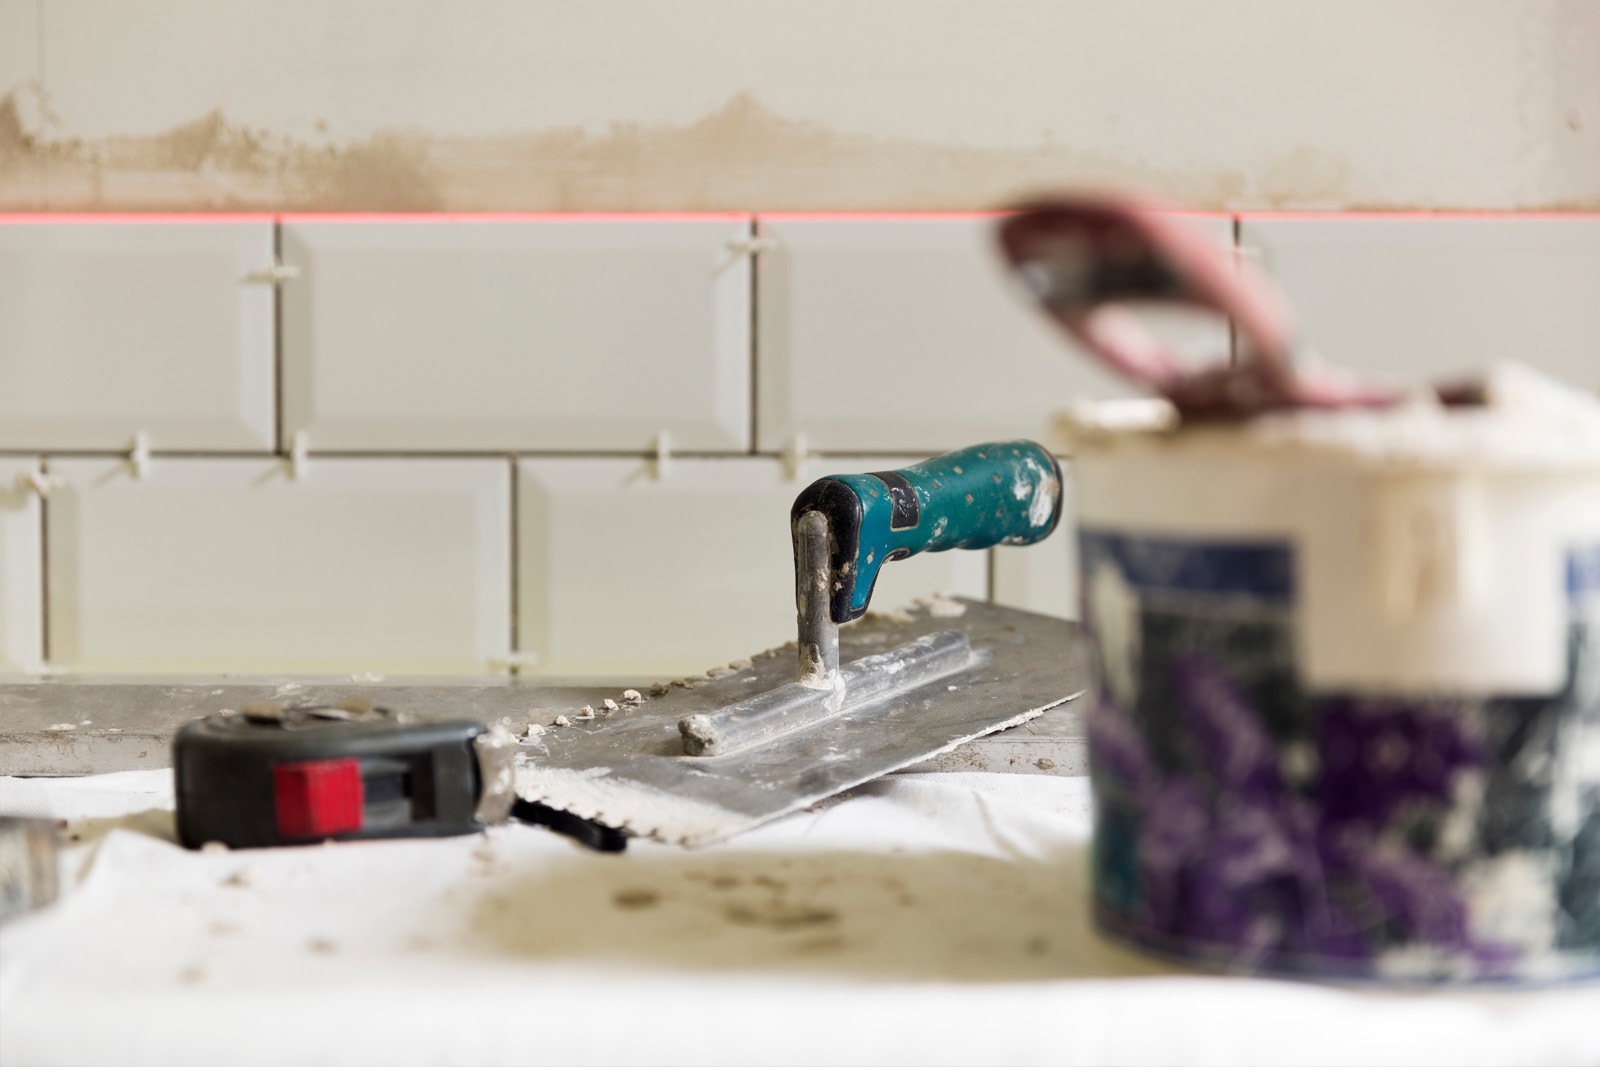
- notched adhesive trowel
- spatula
- measuring tape
- spirit level
- tile adhesive
- grout
- mallet
- sponges or squeegie
- a bucket for water for rinsing and
- silicone sealant.
[00:01:51] Tiles need surfaces that are flat rigid and completely free of debris dust and grime. So depending on what you’re starting with you’ll need to invest time in preparation. Large tiles in particular like the popular 600 X 300 are unforgiving of uneven walls, whereas smaller tiles can cope better with the few imperfections here and there. You may need cement or some other kind of patching comppound to fill large gaps or crack surfaces. You can compensate for slightly uneven surfaces by adjusting the amount of tile adhesive you use. But much better to start with walls and floors that are as flat and level as possible. You might even need to get a plasterer in to skim the walls or if the walls are particularly wonky or in really bad condition you might consider some kind of wet area sheeting such as billboard board fiber cement shades but you can cloud the walls with. [00:02:44][52.6]
[00:02:48] One of the biggest fails in any bathroom renovation is not installing your waterproofing correctly. Now what is waterproofing? It’s a membrane that you put over your walls and floors to stop water penetrating into those areas and if you don’t install waterproofing correctly it can be disastrous. Especially if you’re doing an apartment renovation where you’re on the upper levels of a block. Water penetrates through the floor, starts dripping down into neighbouring properties. Nobody wants that. It could also mean that you’d have to rip out your bathroom and start from scratch again. Now waterproofing is definitely not a DIY product. You should always use a licensed waterproof because what you will need to obtain is what’s called a waterproofing certificate. If you’re ever selling your property that waterproofing certificate needs to be attached to the contract of sale. [00:03:34][45.8]
[00:03:39] Once your waterproofing is complete, the next stage is tiling. For tiling the bathroom floor, you have to have a certain slope so that you have waterfalls correctly into your floor whites. With the bathroom waterproof and fully cured, you’re now ready to start marking out your tiles ready for laying. The idea is to work out exactly where your tiles are going before you start glueing them down. You want to conceal the cut tiles in the most tucked away areas so the full tiles are used in the most highly visible spots and to avoid unnecessarily cutting tiles. Any Less than about half a kind of tile is too small and will definitely look ugly. [00:04:19][40.7]
[00:04:23] You tile from the floor up. But you want to leave your bottom row of wall tiles until last. As you’ll need to cut these in line with the floor tiles. So that’s probably the last row of tiles you’ll do right at the end. Your first line of wall tiles you’ll be laying is the next throw up and you need to get a straight face level for these use your level or straight edge to create a level base to commence your first row of tiles. You can also use a timber baton temporarily nailed to the wall instead. Now you need to work out the best placement for your row of wall tiles. Find your horizontal center point by measuring the wall with and dividing it in half. Then start laying out your tiles from the midpoint. [00:05:07][43.3]
[00:05:08] Once you’re happy with the placement and have marked out on your wall where your first full tile goes you’re ready to get tiling. [00:05:15][6.5]
[00:05:15] The tools you choose to cut the tile very much depend on the type and thickness of the tile you’re using and how much money you’re prepared to outlay to make the job easier.
When purchasing your tiles, check with the supplier which cutting tool is recommended for those tiles. Thin ceramic wall tiles can easily be scored and snapped with a manual tile cutter. With a larger, thicker tile really popular now, you’re probably best to hire an electric tile cutter, then use an angle grinder fitted with a continuous rim diamond disc to make angular cuts to go round fittings.
[00:05:56] You can also buy a dedicated hole cutter tax which has a diamond cartridge but it’s an expensive purchase if you’re using it as a one off. Hole cutters range in size from 12 to the 100 millimetres diameter and are used as a power drill attachment. [00:06:10][14.2]
[00:06:14] I’d recommend using a powdered adhesive rather than a ready mix one for one thing it’s cheaper. Don’t mix up too much in one batch as it hardens relatively quickly so you run out of time before you’ve used it all. Mix up the adhesive according to the manufacturer’s instructions a tooth paste consistency is generally the rule of thumb. The size trowel you use to spread the adhesive on the wall, depends on the tile you’re laying. Here’s a guide provided by the tile Council of Australia. [00:06:42][27.4]
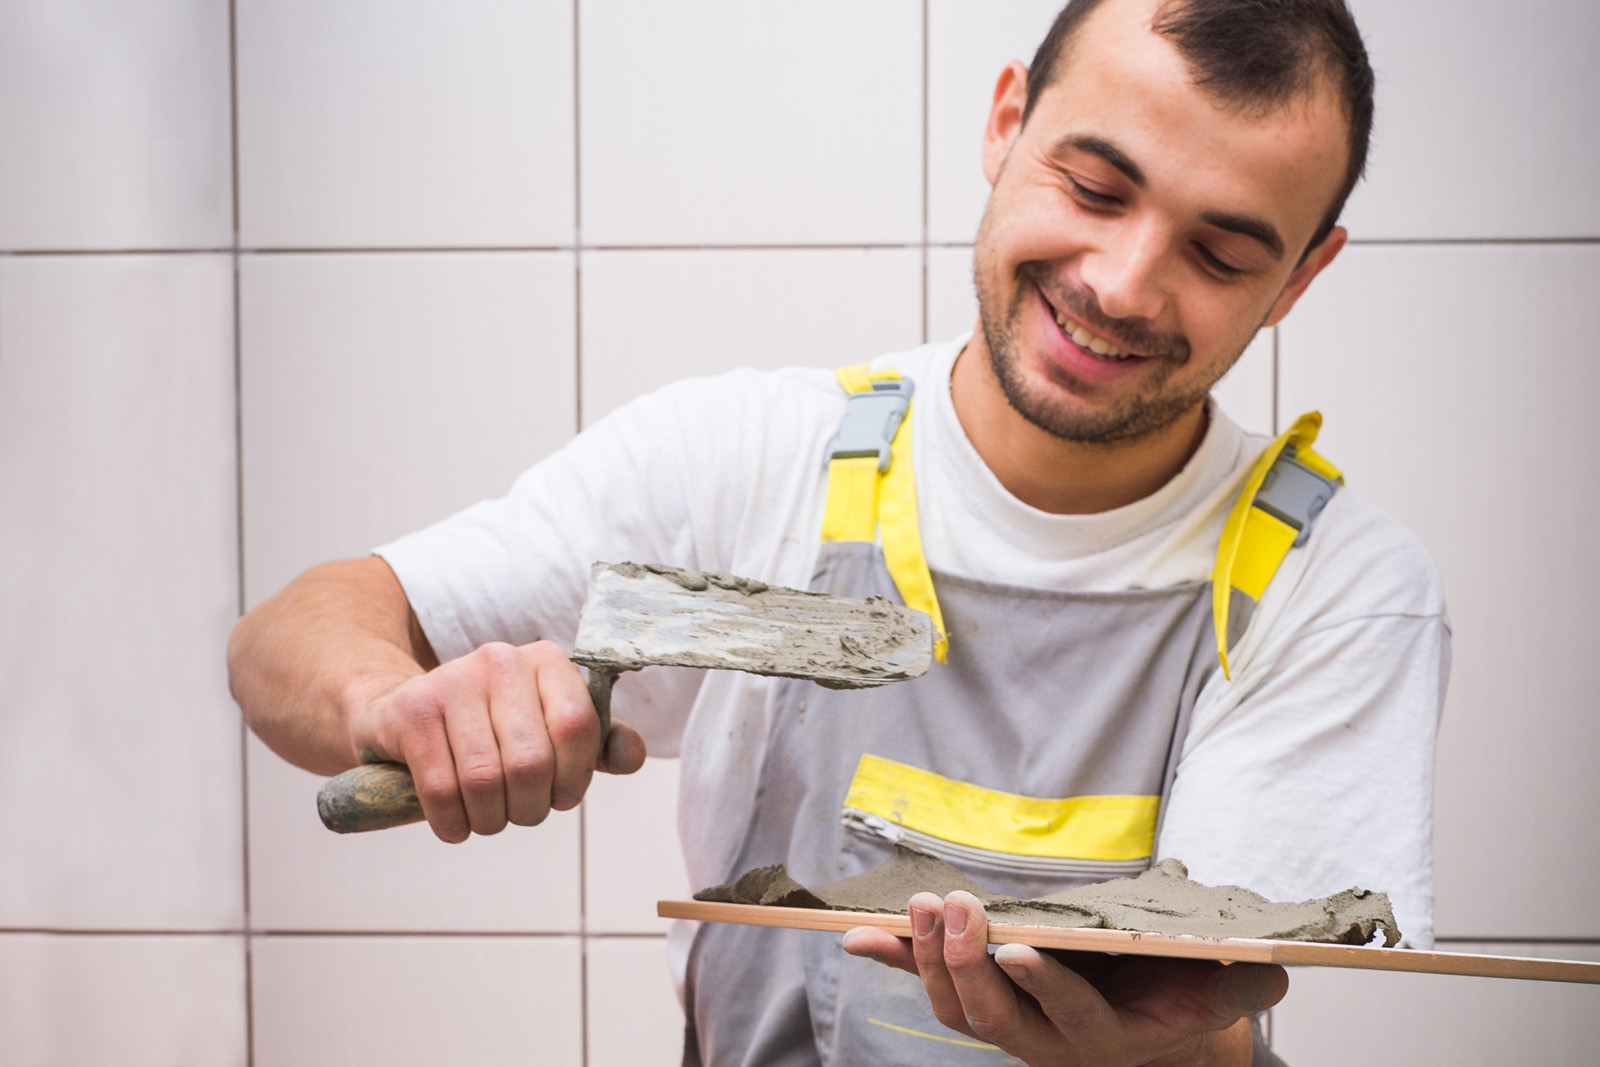
[00:06:51] After applying it adhesive to the back of your tile, place it carefully and push it firmly into position, with a slight swivel if necessary. Place your spirit level on top and check the angle is correct. Use tile spaces in between your tiles to keep them perfectly aligned. [00:07:07][16.7]
[00:07:11] You have a wide choice of colors when it comes to grout. You can have plain, white, charcoal and a whole range of colours in between. So you can closely match the colour to your tiles which is my preferred choice When the adhesive is dry, remove the timber battens and the tile spaces from between your tiles. Mix up your grout according to the manufacturer’s instructions. Then work it well into the joints with a rubber float or Squeegie about a square meter at a time working across the joint. Wipe off any excess grout from the join and tiles before it hardens when all the wall is crowded in dry wipes over the tiles with a damp sponge until they come up nice and shiny. [00:07:54][43.0]
[00:07:59] That’s your tiling all finished but the job isn’t truly professional until you’ve completed the finishing touches where you have joins in the wet areas, like around baths, tap fittings, shower roses and vanity’s. [00:08:11][12.0]
[00:08:12] You need to silicone, to seal that moisture. It’s a pretty easy job but it does require a steady hand. [00:08:18][5.8]
[00:08:20] So there you go, you’ve got all the basic pointers of how you tile like a professional. Now always remember if it’s a big job call in a license tilera. You’ll get a better quality outcome. But if it’s a small job have a crack at it yourself. [00:08:32][12.1]
[00:08:32] Good luck with your project.

