



The Farmhouse – Week 11 & 12
Hi ,
Firstly, a huge THANK YOU to everyone who’s been reading my Farmhouse blogs. Almost 30,000 of you are consistently following these updates each week / fortnight which spurs me on to keep writing them!
I’m pleased to say EPISODE 7 is NOW LIVE! While clearing decades of rubbish and overgrowth from this 8.3-acre property, we stumbled across something we genuinely thought might be a GRAVE on my land. 😳 Click on the video below to see our reaction to this. 🎬

GUEST HOUSE PROGRESS
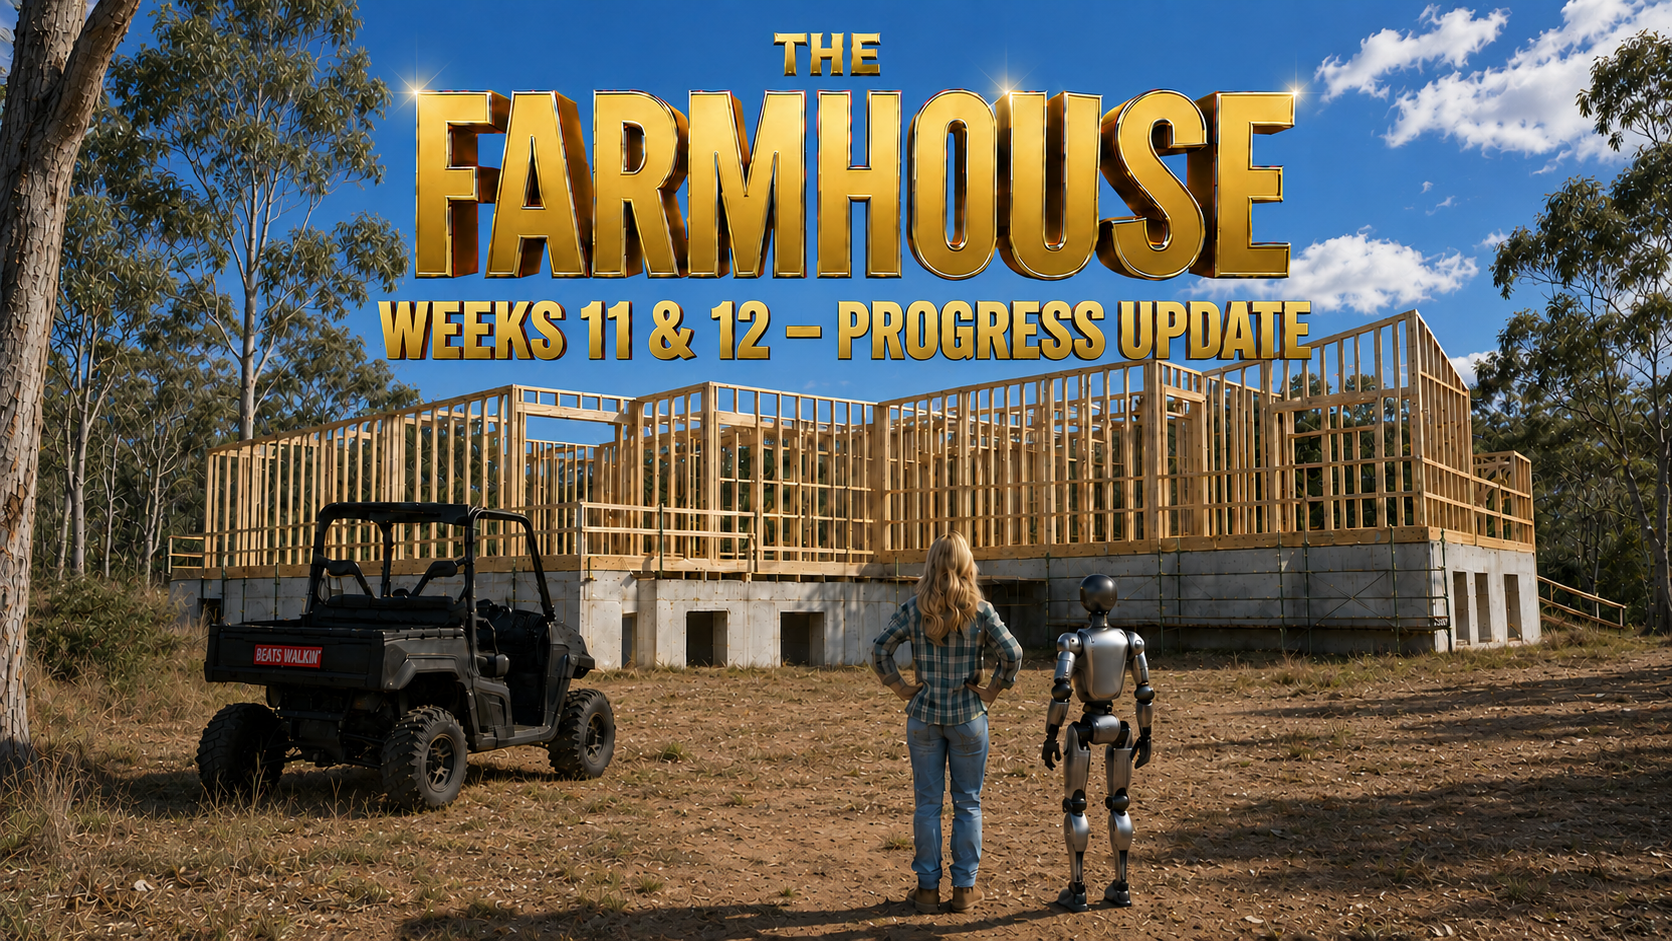
Most of the last 2 weeks has been focused on the guest house because we’ve spent the past 5 weeks waiting for the roof trusses to arrive for the main house. The good news? The trusses FINALLY arrived on site yesterday. Hallelujah!
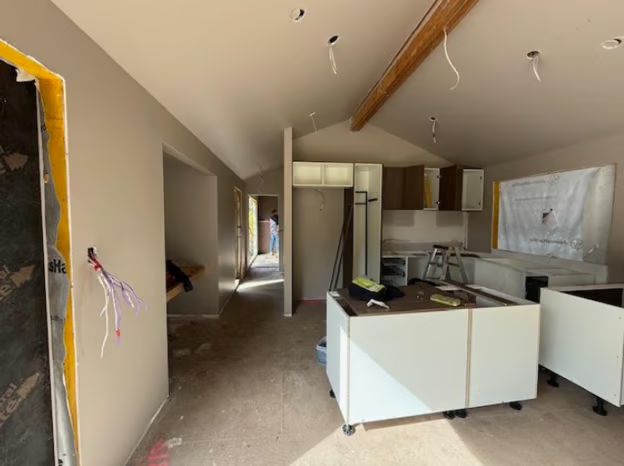
Meanwhile, the guest house kitchen is really starting to come together.
Last week, the kitchen cabinetry went in with Kaboodle’s walnut cabinetry which looks fantastic. I’ve deliberately used tall cabinetry to give the kitchen that custom-made look and, honestly, I don’t think most people would pick that it isn’t custom joinery.
I’ve also added all the little things that make a kitchen work harder – metal soft-close drawers, pull-out bins and clever swing out trays for those corner cabinets that make good use of awkward spaces.
The walnut colour is really starting to set the design tone for the whole guest house. Once the cabinetry is complete, we’ll install the Travertino Vasari Porcelain benchtops from Stone Ambassador on top which will look beautiful against the warmth of the walnut.
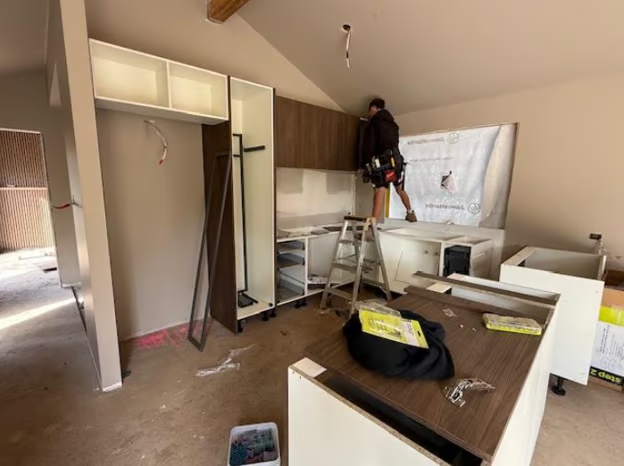
Kaboodle kitchen cabinetry getting installed into the guest house.
THE LIVING ROOM
While the kitchen has been taking shape, my chippies have been busy building out the main focal wall in the living room. This is the wall all the furniture will face onto so it needs to be practical, not just pretty.
As the below photo shows, the wall is framed with timber, ply and over that the Bunnings acoustic wall panels in walnut. The panels are an inexpensive way to create a high-end looking feature wall and they’re incredibly easy to install. Cut them with a circular saw, stick them on with Liquid Nails, add a few black screws through the black felt and you’re done. Instant fancy wall without the fancy-wall price tag.
At the bottom of the wall, 4 x 600mm Kaboodle base cabinets with matching walnut doors provide loads of storage with shelving above.
The shelf over the fireplace is an old piece of timber salvaged from the main house demolition. I love mixing old materials with new ones – especially when the old ones are sitting on site costing me nothing!
A plug-in electric fireplace provides practical heating through winter whilst also making the wall look rather fabulous.
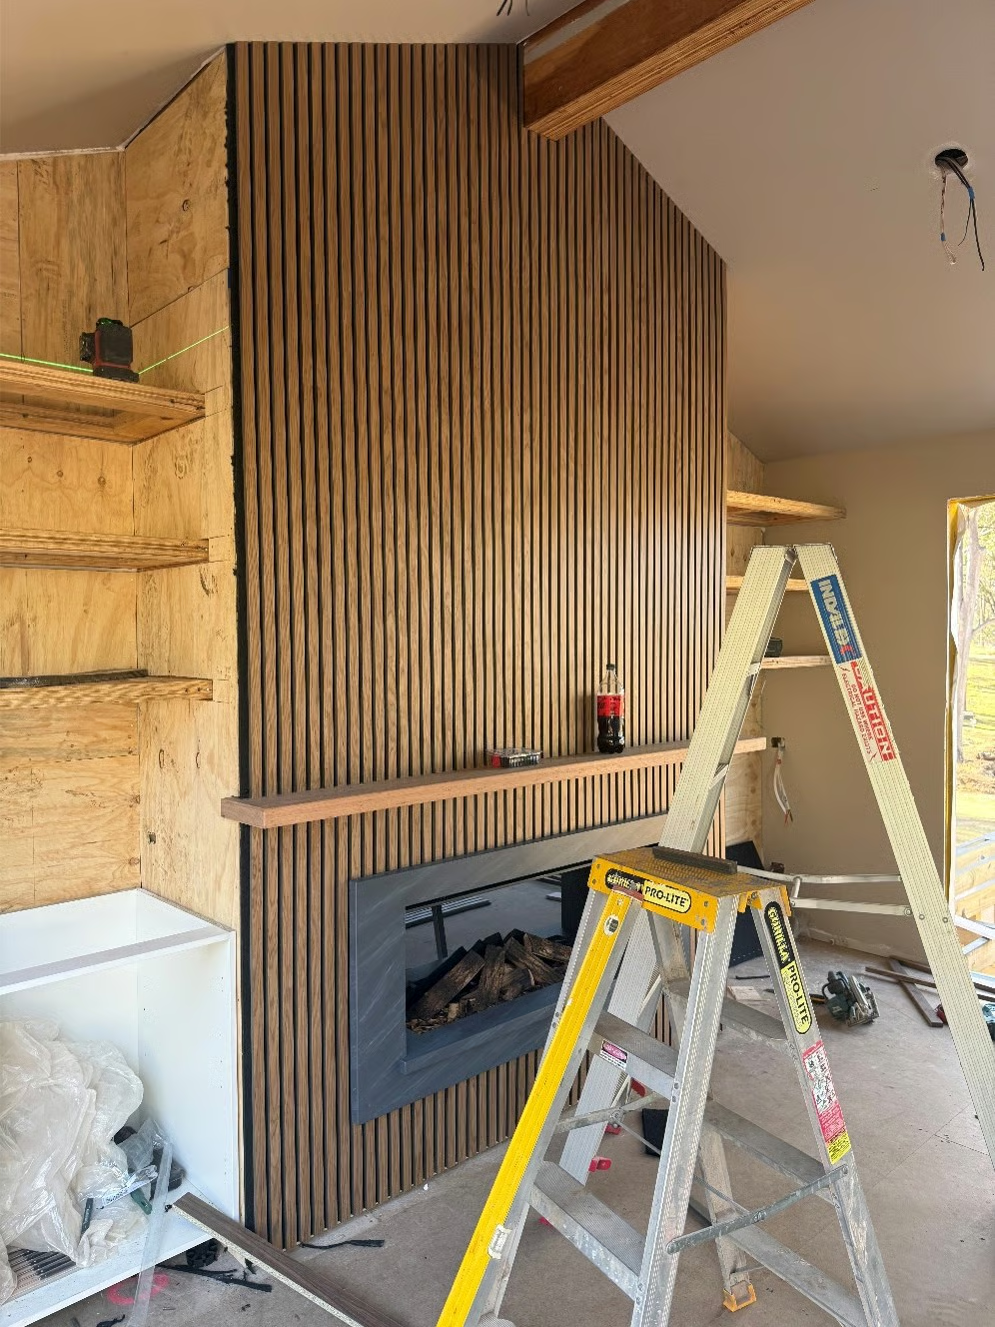
Bunnings acoustic wall panels in walnut
have been installed on the living room feature wall.
THE BEDROOM
In the guest house bedroom, I’ve continued the Bunnings acoustic wall panels to carry that walnut theme right throughout the home. We’ve deliberately divided the bedhead wall into 2 sections. The lower section sits 1.4 metres high and projects 150mm out from the wall, creating a defined zone for the bed. The upper section will eventually house 1 or 2 smaller pieces of artwork.
There is also a practical reason for doing this. The wall reaches 3.9 metres height but the acoustic panels are only 2.7 metres long. Trying to join panels halfway up a feature wall can look super messy so dividing the wall into two sections means no visible joins. Problem solved.
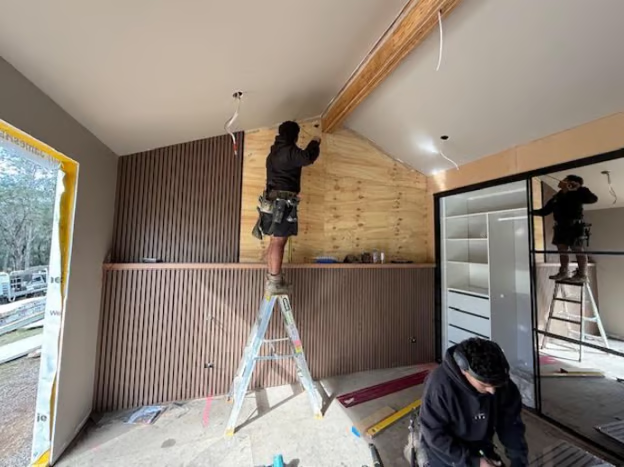
The bedroom feature wall being installed with Bunnings’s acoustic wall panels.
The acoustic panels (they come in other timber colours too) also have a practical benefit. With the new Western Sydney International Airport nearby, they should help buffer any external noise. I’m not anywhere near the flight path but I’m expecting the suburb to become a fraction noisier once the airport becomes fully operational.
We’ve also recycled a 4.5-metre-long piece of hardwood salvaged from the main house. Buying a piece of timber that size today could easily cost somewhere between $600 to $1,000 so there was absolutely no chance I was throwing that baby into a skip bin.
Two of my chippies cut it to size, sanded it back, routed a channel into the rear for LED strip lighting and installed it as a shelf above the bed. We’ll stain it walnut so it blends beautifully with the acoustic panels.
You’ll also notice the new wardrobe. Plain mirrored wardrobe doors can sometimes look a little… well, plain. So, I deliberately chose panelled doors with glass inserts. They provide a full-length mirror for guests to check themselves out before leaving the room, but more importantly, they reflect the beautiful landscape outside back into the bedroom. It’s a simple design trick that helps bring the outside in.
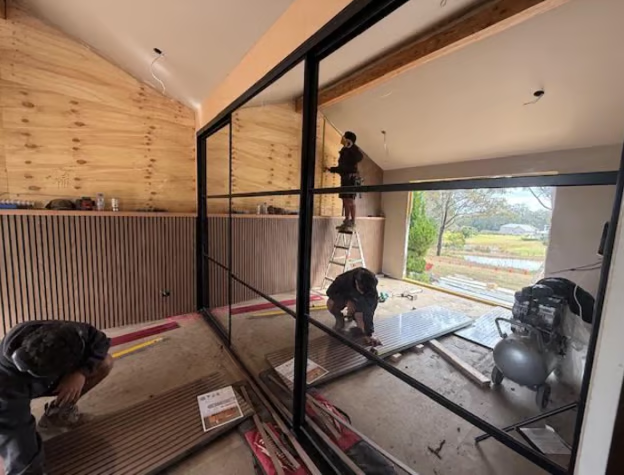
The mirrored wardrobe reflects the outdoors, bringing nature inside the home.
BEHIND THE WALLS
We’ve also completed the electrical rough-in. It doesn’t sound particularly glamorous but there’s a huge amount of planning involved in deciding exactly where every power point, switch and light needs to go.
Getting the wiring into position in this part of the property has also been tricky because of the exposed gable ceilings – there’s very little roof cavity available to hide everything. This is the stuff nobody notices when it’s done properly… but EVERYONE notices when it isn’t.
THE BATHROOM
We’re making great progress in the bathroom too. The electrical rough-in and most of the plumbing rough-in are now James Hardie Villaboard before the end of this week, the walls should be sheeted in James Hardie Villaboard, ready for waterproofing.
I’m continuing the walnut theme into the bathroom because cohesion is really important in interior design. When you walk from one room to another, I want the guest house to feel like one considered home, not a collection of rooms that accidentally met each other at a party.
I’ve spent a bit of time carefully selecting all the bathroom fixtures and fittings from Beaumont Tiles. I don’t want to show you my 3D render of the bathroom just yet (some things have got to be kept as a surprise) but here’s the 1500mm vanity I’m installing in Natario Walnut and the matching mirrored shaving cabinet from Fienza.
And then there’s the basin… I’ve chosen mulberry. Yes. MULBERRY.
It’s colourful, it’s bold and I’ve officially plucked up the courage to install it. Would you be game enough to put a mulberry basin in your bathroom?
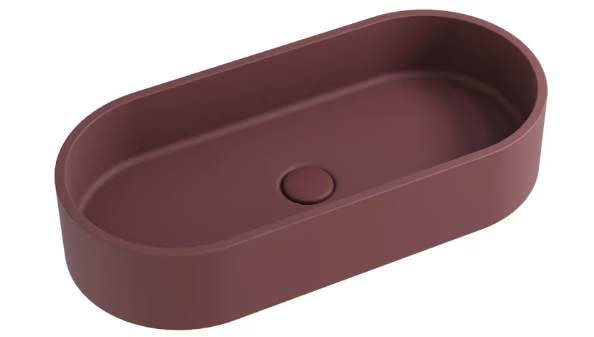
A bright burst of colour for the guest house bathroom.
PAINTING HAS STARTED
We’ve also got a head start on painting. When you’re renovating, you can paint progressively as you go or wait until everything is installed and do it at the end. There’s no right or wrong way, although painting at the end does mean your painters have to cover absolutely everything you’ve just lovingly installed.
For the guest house, I’ve chosen a mushroom / light bark colour and because the whole home is only 60 square metres in size, I’m colour drenching the space. That means the walls, ceilings and trims will all be painted the same colour.
Colour drenching can make a smaller space feel calmer, more cohesive and actually visually larger because your eye isn’t constantly stopping at contrasting trims, cornices and ceilings. The colour itself is very deliberate. It’s a soft, earthy bark tone inspired by the trees surrounding the property. I want the interiors to feel connected to the landscape rather than fighting against it.
Some of you might think the colour looks a little dark for a smaller home but remember – paint colours don’t exist in isolation. Once the lighter furniture, furnishings, styling goes in and the lights are turned on, everything should balance beautifully. That’s why it’s always worth thinking about your whole interior palette before choosing your paint colour, rather than walking into a paint shop, pointing at a swatch and hoping for the best!
The internal paint colour was selected to mimick the colour of bark in the trees outside.
DECKING OF MY DREAMS
Meanwhile, the guest house decking is going in and I’m ridiculously excited about a brand-new decking product that’s about to launch in Australia. I’ll be sharing videos on social media within the next 8 weeks but here’s what I can reveal so far…
It has cool-touch technology which means the decking can be around 30 degrees cooler to walk on in summer than many other decking boards. For anyone who has ever sprinted across a scorching deck barefoot, you’ll understand why this excites me.
And it gets better. It bends. That means we can curve and shape the boards to suit the space and get much more creative with the deck design. Basically, it’s miracle decking and I’m pretty excited to be getting it installed in just a few days time, ahead of its official release.
Also noteworthy – it has a clever fixing method. You screw the boards down from the top but little plugs sit over the screws, hiding them completely. So, you get the security of top-down fixing without hundreds of screw heads staring back at you for the next 20 years. More info to come on this, I promise!
THE WINDOWS
One of my biggest frustrations in this project so far has been… the windows. The lead time for windows in Australia can typically be anywhere from 6 to 12 weeks, depending on your supplier. And unfortunately, you generally can’t order them until your timber framing is in place and the openings can be accurately measured.
The problem is that once you’re waiting for windows, a whole stack of other jobs get held up too. We can’t install a lot of the external cladding. We can’t properly close everything in. The bathroom can’t be waterproofed until the bathroom window is in. So right now, a large portion of my happiness is riding on a truck full of windows! Fingers crossed, the guest house windows arrive by the end of next week.
Once they’re in, it’ll be full steam ahead and I’m hoping we can finish the guest house within the following 3 weeks. There’s still plenty to do but I cannot wait to finally say this part of the property is finished so we can turn 100% of our attention back to the main house.
Which, naturally, is currently waiting on something else… Steel beams. Another 6-week manufacturing lead time.
Renovating: the relaxing hobby where you spend half your life waiting for things to arrive.
Until next time,
Cherie x