


Cherie’s Retro Renovation
CHERIE’S RETRO RENOVATION
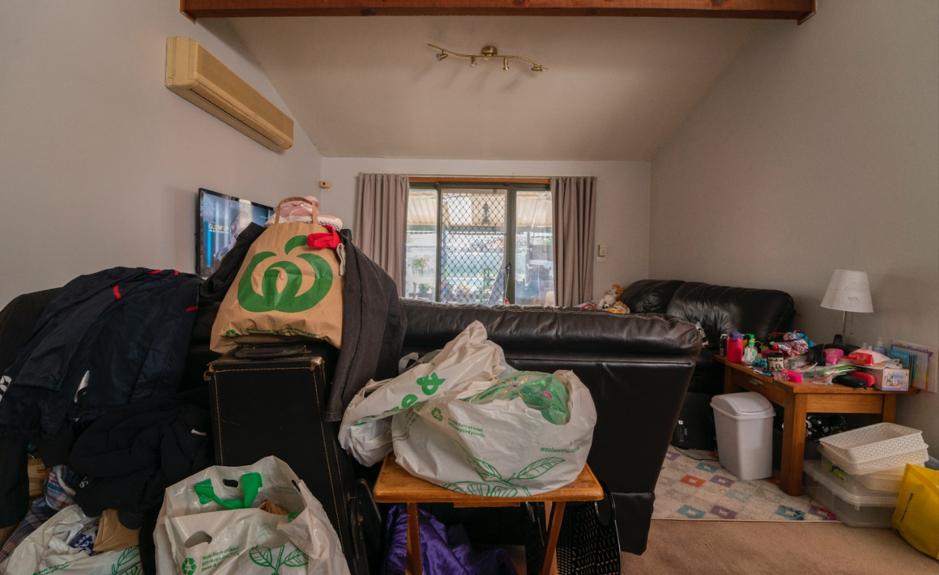
In recent weeks, Season 2 of Space Invaders has been beaming brightly into television screens around the country. For those of you who missed Episode 1, it featured Lisa and Jason, a lovely Western Sydney couple and their 5-year-old daughter Willow, drowning in a sea of clutter.
What I’ve come to learn working on this show is that people defined as ‘clutterers’, nearly always get to this point, as a symptom of coping with some sort of personal crisis that’s occurred in their life.
In Lisa’s case, the diagnosis of her mother and grandmother with breast cancer at the very same time, was all too much for her to bear. Her mum recovered but sadly her grandmother didn’t. The trauma of it all sent Lisa into a downward spiral, regaining weight and accumulating so much clutter, the family home became one giant obstacle course.
More often than not, these sorts of situations require some form of expert intervention to help people get their lives back on track.
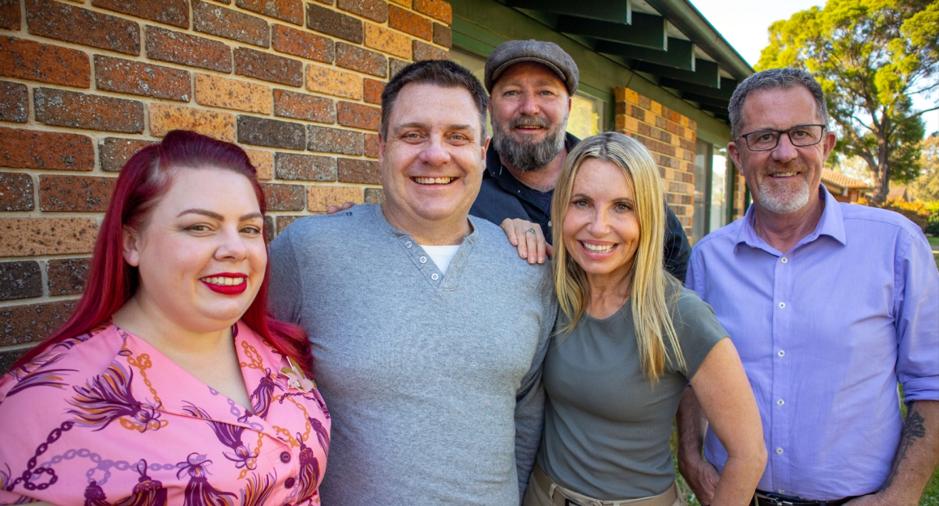 Lisa and husband Jason with the Space Invaders team.
DAWN OF A NEW ERA
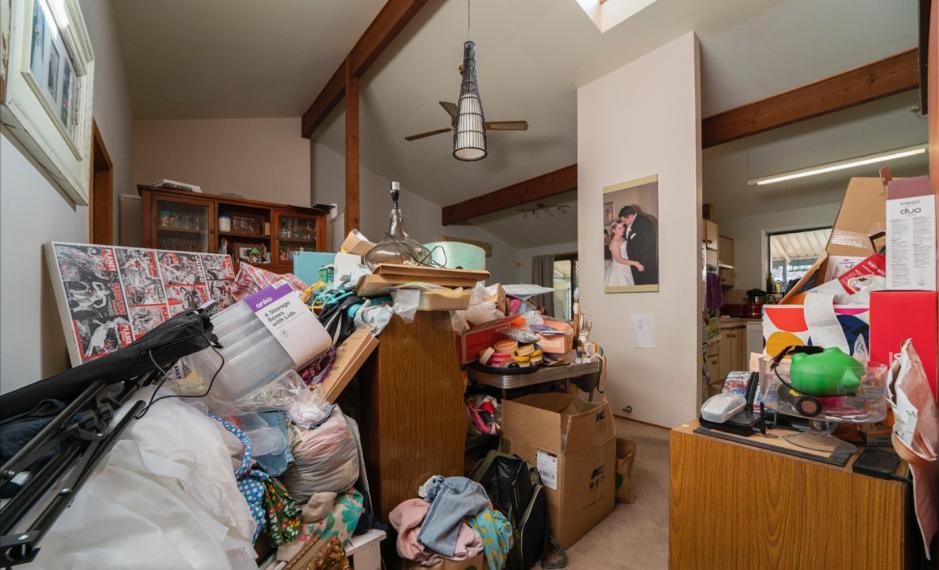
Lisa and Jason’s living room was dominated by chunky black ’80s couches and gloomy colours. There was no sense of style in the space and the room felt lifeless, despite it brimming with stuff.
The couple told me they were in love with the 1950s (also a favourite era of mine), so I knew I’d have some fun renovating this home, choosing funky patterns and colours, reminiscent of mid-century design. Lisa and Jason had already collected a lot of authentic 1950’s furniture – it was just buried under all that clutter that no-one could see.
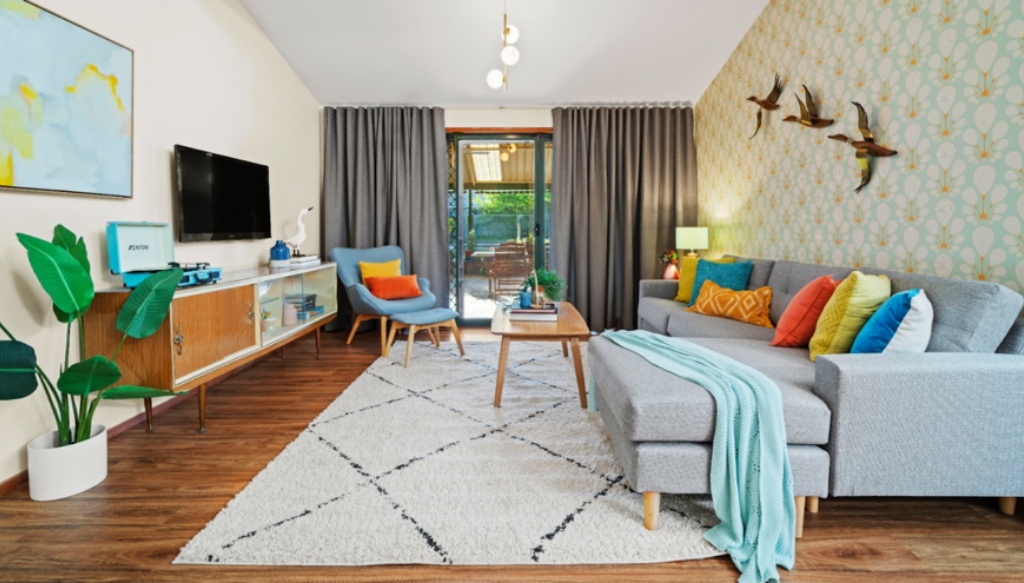
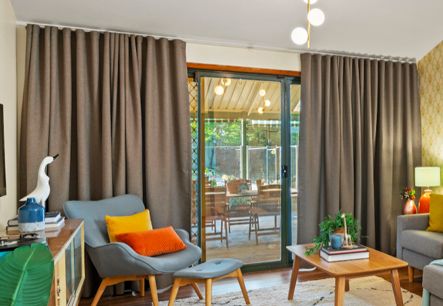
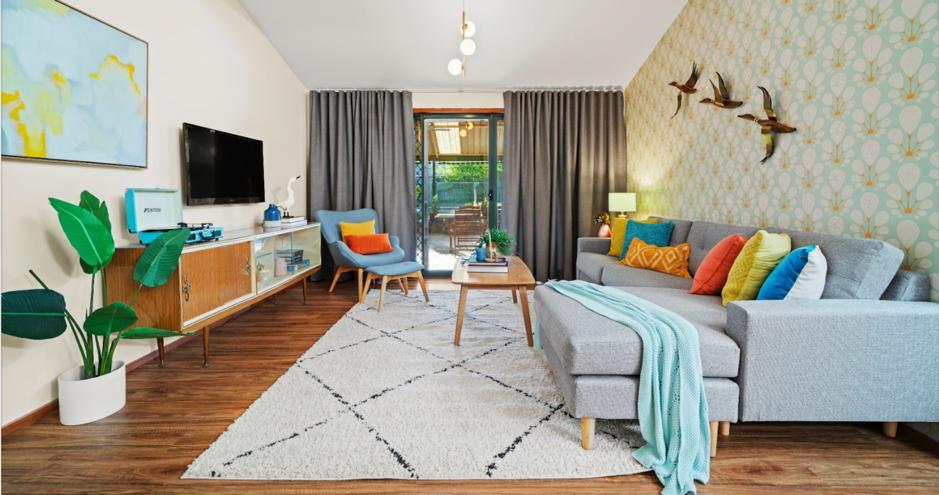 Notice how the furnishings and rug have been carefully chosen to visually lengthen the room. The muted wall colour allows the bright accessories to ‘pop’.
Starting with the floor, I ripped up the old beige carpet and laid down new hybrid floating floorboards which I continued through to the adjoining dining area and hall to create one uniform space. I knew the new floorboards would be so much easier to keep clean than carpet and they make the rooms appear larger, even though they’re physically not. I deliberately ran the floorboards in the direction of the hallway, then followed that direction everywhere else which naturally increases the sense of flow throughout a home.
I couldn’t go past that very prominent sized wall in the lounge room without doing something special to it. I turned it into a feature wall, choosing a pastel-toned vintage wallpaper, so those fabulous flying ducks pop against its backdrop. The couple’s original vintage sideboard is now a key focal point in the room and the brown-coloured, double-fullness curtains add colour and much-needed softness to the room.
FIFTIES DINER
When I saw a genuine 1950’s dining table and chairs buried under all those piles of clutter, I couldn’t believe my eyes! A completely original 1958 setting in mint condition, which had never actually been used by the couple. I immediately knew it would become the centrepiece of my new retro dining area, which flowed through in open-plan style to the kitchen and adjoining lounge room.
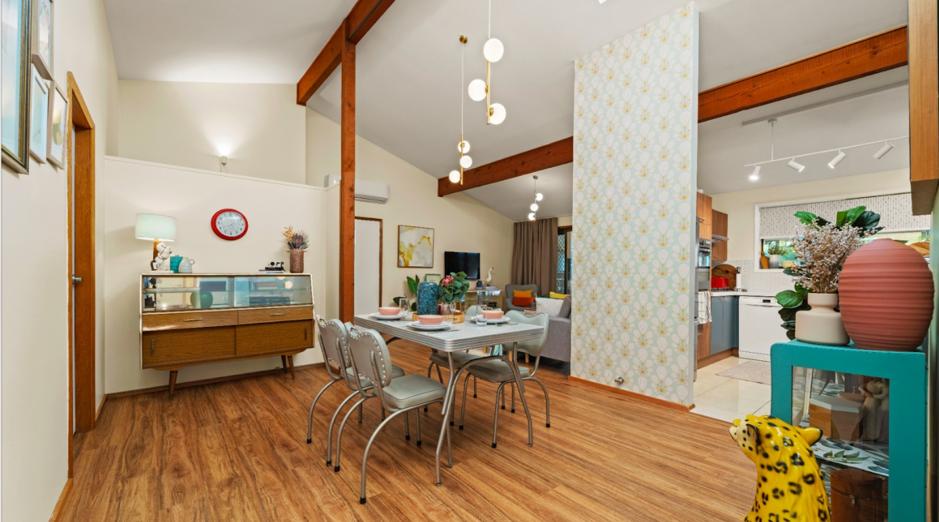 Running the floorboards in the same direction as the foot traffic increases the sense of flow through the home.
Using the same wallpaper and lights that I used in the lounge room was an effective linking device. There’s terrific height in that sloping ceiling, accentuated by the exposed timber beams and light-coloured walls, so these feature pendant lights become an eye-catching focal point, bouncing light all around the room. The owners’ vintage buffet finally has its own place to call home.
I posted the photos of this dining room recently on my Facebook page and many were quick to ask why I didn’t paint the exposed beams, skirting boards and door architraves. Back in the 1950s, walnut was a predominant colour. Painting all of these things white would have completely modernised these rooms making them feel less true to the era. Also, why paint something that’s not really needed?
Looking back on this reno I felt the dining room looked a little bare, mainly because of my decision not to put a big rug under the dining room table. The practical side of my brain kicked in with food scraps fermenting away with a little 5-year-old at the table. Sometimes you can get torn as a renovator – do you go for looks or practicality? Ideally, you should aim to achieve both!
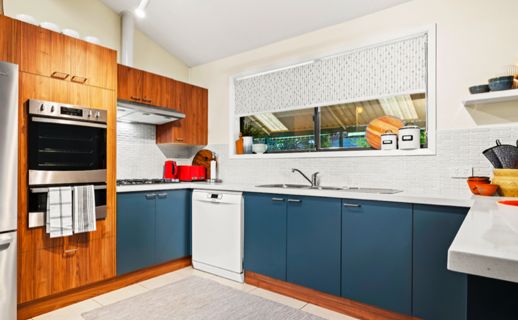
RETRO KITCHEN CHIC
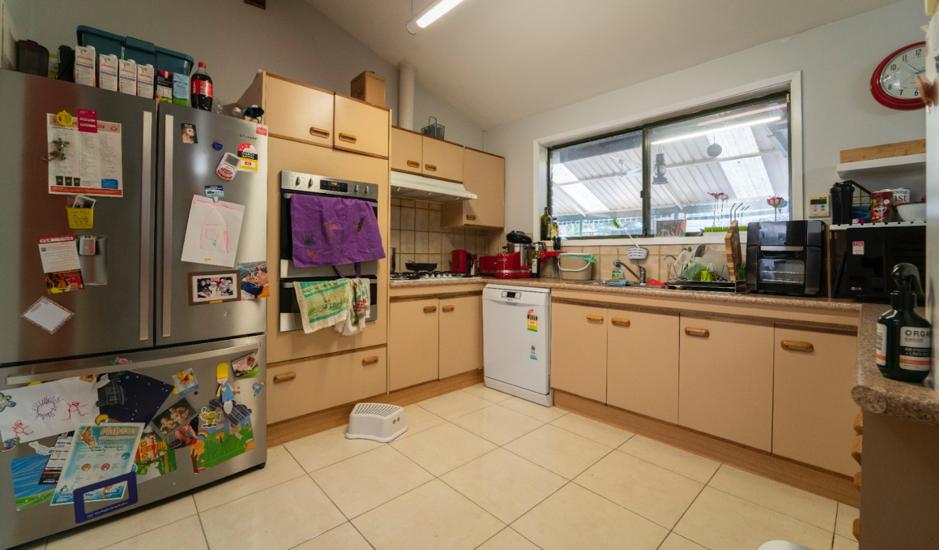
Lisa and Jason’s dowdy kitchen was perfectly functional and structurally in good nick so it would have been a terrible shame to rip it out and throw it into landfill. Owner Lisa, admitted she dreaded stepping foot in her kitchen to prepare meals and the room didn’t feel great to be in.
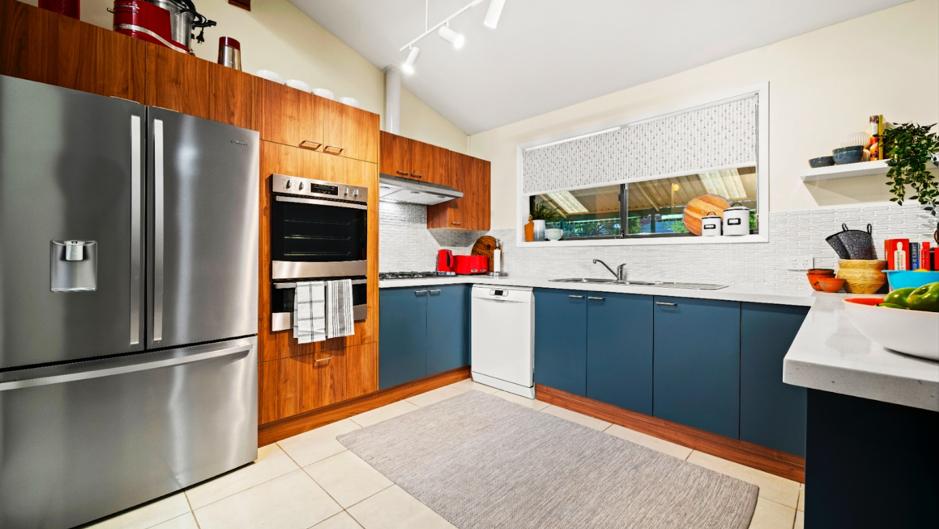 The great thing about modern roller blinds is they come in so many different patterns. This one complements those vintage tiles perfectly!
I certainly didn’t have the time or budget for a $30,000 kitchen, so I did the next best thing, create the illusion of a brand-new kitchen instead. I replaced the old cabinet doors with a combo of inky blue and walnut new door fronts instead at the owners’ request. I beefed up the kitchen with one new wall cabinet over the fridge which by default, made the kitchen appear larger and therefore look more valuable. I installed a new retro tiled splashback, added a vintage-inspired roller blind and an overhead track light with multi-directional spotlights that allows light to be positioned exactly where it’s needed.
But the real masterpiece in this room is the benchtops! I bought the Granite Transformations team in who, within a few short hours, left the old benchtops in place and simply placed a thin layer of stone benchtop straight over the top of the old benchtops. Perfect if you’re on a tight budget and can’t wait four to eight weeks for new ones the traditional way!
THE END RESULT
This renovation was done in three fast days though I’d warn you not to attempt the same yourself. TV renos are one thing, real life another. All up, I spent just under $35,000 for all materials and labour inclusive with an uplift of value that doubled that. Once Lisa and Jason renovate the remainder of their home, that’s when the greatest return on investment will be achieved.
Lisa burst into tears when she saw her new vintage inspired home and prized pieces of 1950’s furniture finally in a setting where they could be appreciated. With the “crushing clutter” gone, she and husband Jason & 5-year-old daughter Willow can finally enjoy the retro-styled home they’d always intended to create.
GET THE LOOK
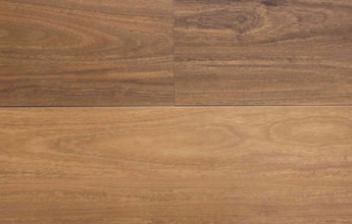 |
Style: Hybrid FlooringProduct Number: Coastal Haven Fingal
Colour: Spotted Gum Board Size:1480mm (l) x 223mm (w) x 5.5mm (h) Supplier: Flooring Xtra Link to Product: Coastal Haven Floorboards |
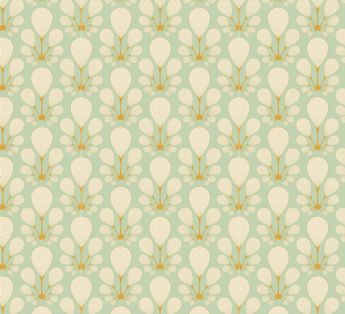 |
Product Number: Bulbs WallpaperSupplier: Luxe Walls
Link to Product: Bulbs Wallpaper |
 |
Product Description: Helix 3 Light Pendant with Frosted Glass Shades in Brass.Product Number: 010141
Supplier: Beacon Lighting Link to Product: Helix Pendant |
 |
Product Description: Emery Blockout CurtainColour: Pebble
Fullness: Double Supplier: Wynstan Link to Product: Emery Curtain |
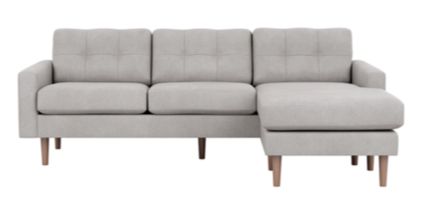 |
Product Description: Jazz 3-Seater SofaColour: Standard Groove Grey
Supplier: Fantastic Furniture Link to Product: Jazz Sofa |
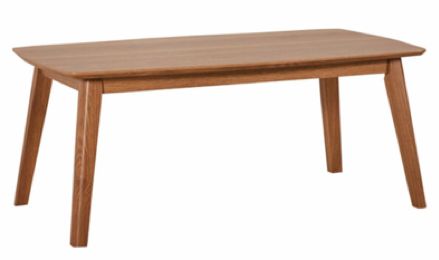 |
Product Description: Nova Coffee TableColour: Oak
Supplier: Fantastic Furniture Link to Product: Niva Coffee Table |
 |
Benchtop: Ocean PearlBase Cabinets: Polytec Habitat
Upper Cabinets: Polytec Notaio Walnut Supplier: Granite Transformations Link to Supplier: Granite Transformations |
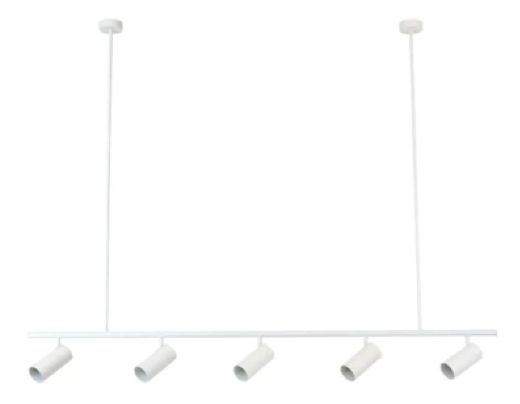 |
Product Description: Nevada 5 Light Adjustable PendantProduct Number: 011851
Supplier: Beacon Lighting Link to Product: Nevada Pendant |
PAINT COLOURS:
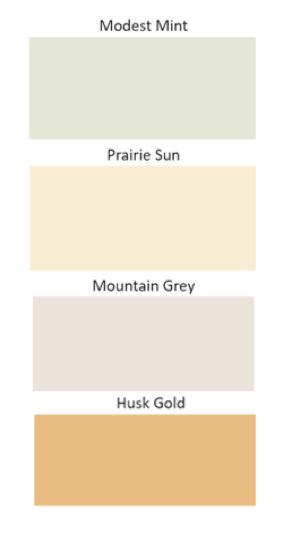 |
Lounge & DiningRoom Walls: Taubmans Modest Mint
Taubmans Prairie Sun Taubmans Mountain Grey Front Door: Taubmans Husk Gold Taubmans Endure Paint Used. |


Love the transformation and list of items used and suppliers.
Great work Cherie.
Love this page as it answers a a lot of would be questions. Rock on team don’t stop giving people their lives back
Aww thanks Rob, have a wonderful day. Cherie Crew x
Love the fact that you give us the names of the distributors of furniture and paint. For someone who has no sence of decor, decorating I appreciate your talent and knowledge.
Well done fantastic look.
Your welcome Yvonne, Cherie Crew x
Just wow! Fabulous job Cherie and team, looks absolutely gorgeous and thanks for sharing!
Best,
Sara
Thanks Sara, so glad you enjoyed the read. Cherie Crew x
Thanks so much for sharing your before and after photos – so inspiring! The granite transformations for benchtops is amazing! Love your creativity and sourcing/sharing great ideas and new products.
Cheers, Marg
Thanks Marg, Cherie absolutely loves Granite Transformations. Cherie Crew x
Great retro look! Well done Cherie and team. Love the list of items you used and suppliers.
Thanks Ailsa, Cherie Crew x