How To Resurface A Benchtop
There are a few ways to update your kitchen and bathrooms: tile paint and laminate paint. The last surface to tackle in this budget busting trio is of course… resurfacing your benchtops! With the right know-how and products, this is a fast and easy DIY project to get stuck into. Over a weekend you can completely transform your laminate or timber kitchen and bathroom benchtops. Using the Rust-oleum Benchtop kit which has everything you’ll need, here’s how…
Step 1. First things first, clean your benchtops well to remove any dirt, debris, residual cooking oil or fat.
Step 2. Next, sand the top and sides of the benchtop with a sanding block, using a circular motion. Roughing the surface helps the paint adhere so be sure to cover ever last inch.
Step 3. Fill any small holes or gaps with putty, using a scraper to flatten then allowing to dry for about 10 minutes. Once dry, sand to a smooth finish, clean the benchtop surface again to remove dust and allow to dry.
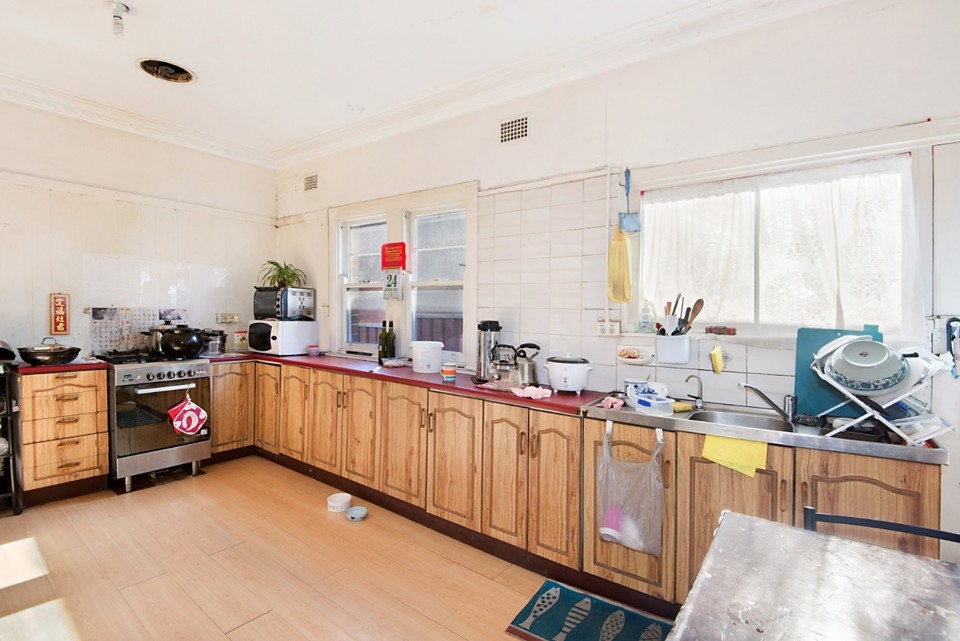
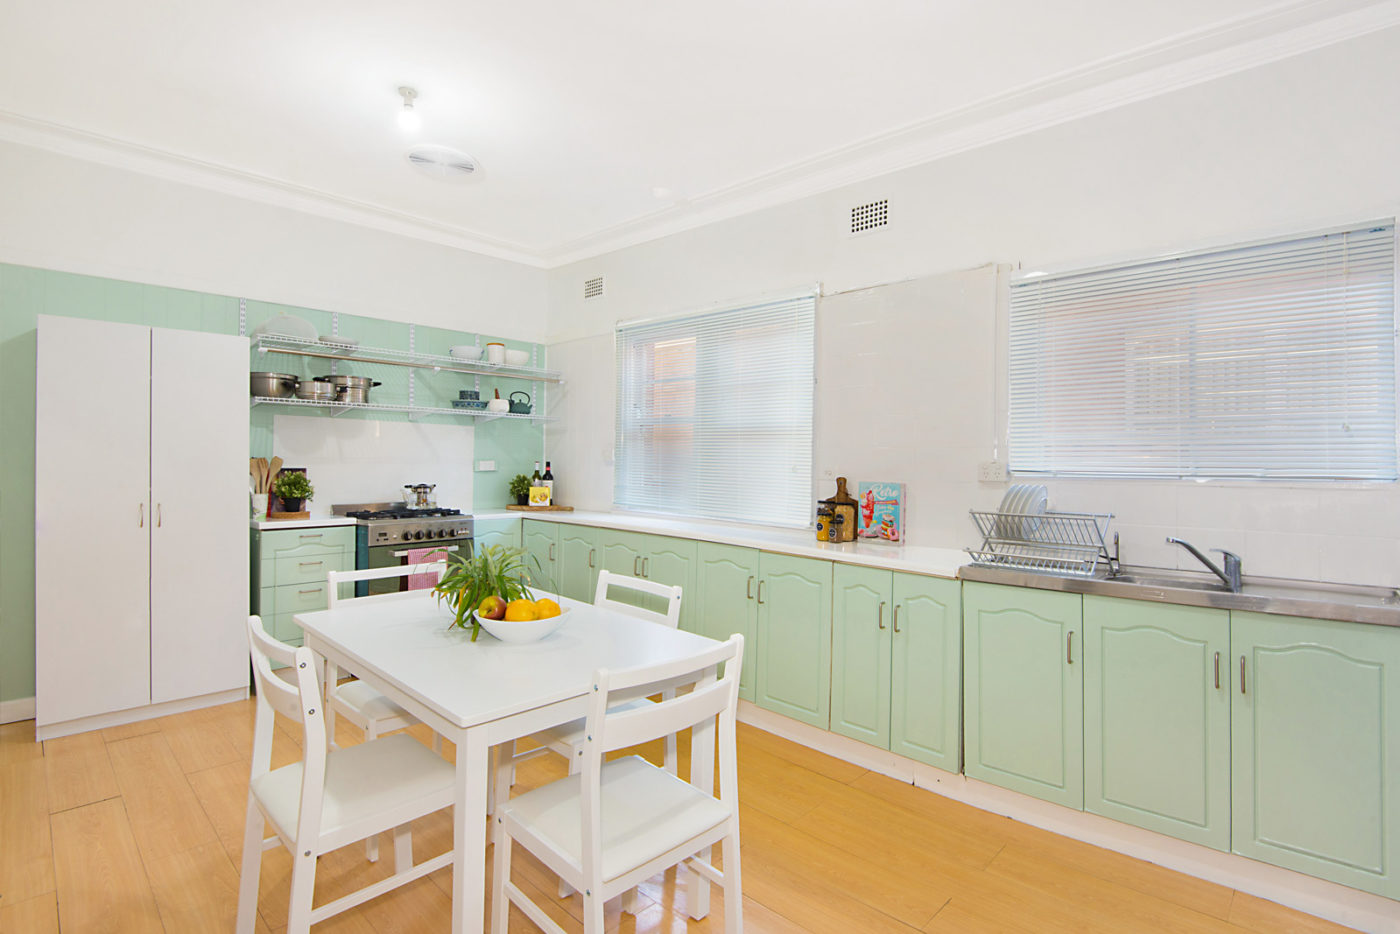
Step 4. Give your paint tin a good shake then, using a paint roller and working in small patches, apply benchtop paint in a zigzag pattern. Allow to dry for about 3-4 hours.
Step 5. Lightly sand the surface again, using a mouse sander. Don’t use the sanding block you originally used or you will scuff the paint. Wipe to clean.
Step 6. Apply a generous layer for the second coat and allow to dry overnight.
Step 7. Mix and apply gloss paint with a foam roller. Allow to dry for 6 hours, then apply the second coat. Allow to dry for 48 hours before light use, 7 days before you can use the benchtops as normal. Done!
In the midst, or dreaming about, a kitchen reno and feeling overwhelmed? Be sure to download my free Kitchen Reno Ebook for tips or, if you’re actually about to start demo my Create Your Perfect Kitchen course will give you the confidence you need to communicate effectively with trades as well as explain the order in which everything needs to happen, saving you time and money in the long run.
And if you’re in need of new flat-pack cabinetry, benchtops, flooring, blinds and appliances then our HomeSuperSaver membership card could end up saving you big on those big-ticket items – with discounts between 15-30% off. A worthwhile investment for any renovation – be sure to check it out.
This post was originally published in 2016 and has been updated for comprehensiveness.


Hi Cherie, I am wanting to know if it is possible to resurface a ( contact material style laminate benchtop) in the kitchen, I have painted my timber cupboard doors to a cream colour, my benchtop has a timber edge which is what I want to try to resurface the top of it to look like, do you have any suggestions? Thankyou
Hi Tammy,
You can resurface a benchtop with a timber edge using White Knight products (1 coat of Tile and Laminate primer, 2 coats of Laminate Paint and 1 coat of Benchtop Protective Coating) for under $200. Alternately there are companies that will transform your benchtops with a composite stone overlay which can be adhered to your style of benchtop, though this will cost you quite a bit more. C x
Hi Cherie
I have a huge kitchen island with a laminate top and rounded timber edge. The laminate is about 1mm thick sitting on top of the timber – I feel like it will be hard to get a neat finish on the edge. Could I fill the join with something to make it look like one surface? Or cut the top first to to create a square edge?
Thanks Danielle
Hi Tammy, To fill the join lines, you can try a product called Selleys “Knead It” which you can buy from the paint section in Bunnings. It’s a multipurpose, hand kneadable fast setting epoxy putty that is ideal for repairing, rebuilding, reshaping or restoring almost anything. It can also be drilled, filed, machined, screwed, sawn, sanded, stained & painted. If your budget can stretch to a couple of thousand dollars, it might be worth getting “Granite Transformations” out to your home to quote. (www.granitetransformations.com.au). This is a national company in all states of Australia who can glue an 8mm thin layer of engineered stone, straight over the top of your existing benchtops & give you a square edge in the process. I feel this will be a much better way to go so you can end up with a professional finish as opposed to putty. Hope this helps. Cherie x
Hi Cherie, thank you a great tutorial. Your original benchtop was in pretty good shape (to my untrained eye). How would that product work on a really old benchtop that is peeling in patches? Also, what is the best way to avoid runs on the edge as you’re rolling? Thank you! 😃
Hi there,
Just wondering if there are any tips and tricks for doing the beach top edges? Also going around things like your sink… do you need to remove it to paint the bench top?
Cheers,
Nat
Hi Nat, you can laminate paint the edges in the same way as you laminate paint all your other cabinets. Just use the microfibre roller instead of a paint brush. In terms of your sink, its always best to remove it if you can otherwise just scotch tape the edges of the sink then paint around it with your roller. Cherie x
Would kove to know how durable this system is when it comes to chips and scratches
Hi Mat, it is very durable, potentially it would get good wear for a few years then you may need to repeat the process – Cherie Crew x
Can you repaint your bench tops in other colours apart from white
Thanks
Hi Warren, you can tint to any colour, head to the website for all of the product information. Cherie Crew x https://www.rustoleum.com.au/
Hi Cherie
I have a hole in my laminate bench top.
Is there away of having the laminate stretched to fix it. The hole is a bit small but the laminate is starting to curl up
Thanks 😊
Hi Sharon, all you can do is fill the hole with a product called “Knead It” which is available at the paint section at Bunnings. Then you will need to laminate paint over the entire bench top with Dulux Laminate Paint or Rustoleum Countertop Transformation Kit. Alternatively you can use a company called Granite Transformations where they put a layer of thin stone of top of your existing bench top. Hope this helps, Cherie Crew x