5 rookie renovator mistakes you can learn from
I’m asked to write or contribute to many different media outlets over the course of a year, and I find there are a few recurrent themes that pop up. One of them is common rookie renovator mistakes.
Maybe it’s comforting for fellow renovators to know they’re not alone in the inevitable stuff-ups they’ve made along the way; novices undoubtedly benefit from the long list of mistakes to avoid. The topic also usually sparks a lot of spirited debate on social media, as renovators chime in with their own tales of troublesome tradies, overblown budgets, costly delays, and issues you can only really put down to naivety.
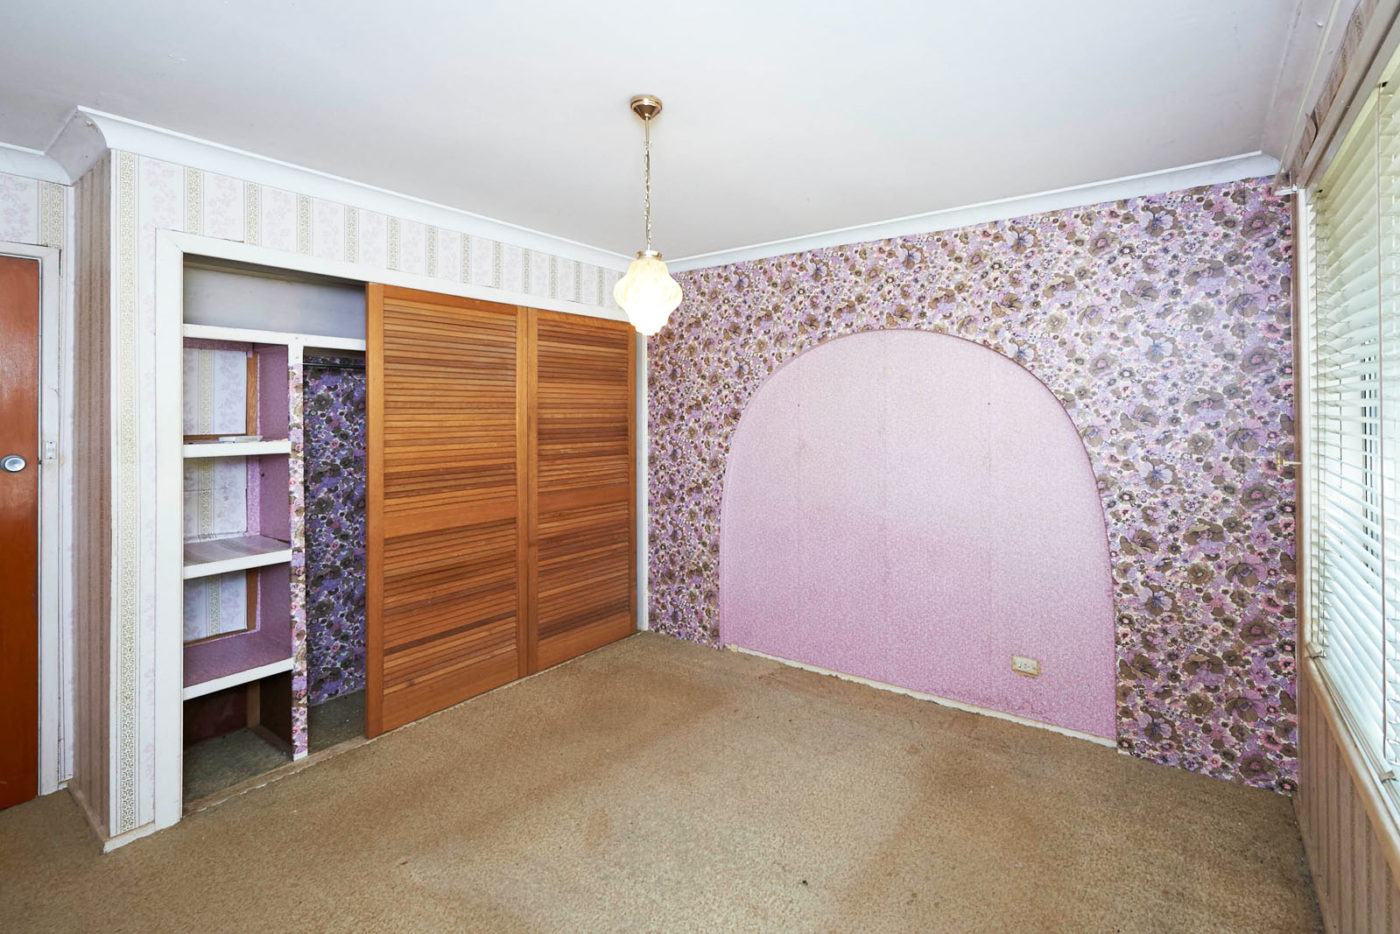

^ This whole house renovation in Sydney’s west had to be completed for just $30k so it was crucial every last dollar was accounted for in order to turn a profit.
I’ve decided to delve into that whole hornet’s nest and share some of these common pitfalls. First up, a quick round-up of my top five rookie mistakes, based on a combination of my own experience and stories relayed to me by students.
1. ASSUMING DIY WILL SAVE YOU MONEY
If you’ve done my Cosmetic Renovations For Profit course, you’ll know my stand on this one. Unless you’re an expert handyman or tradie, avoid the DIY trap and leave those tricky jobs to the pros. Your time is much better spent project managing the reno, rather than botching up a project and then having to pay to get the problem fixed. An amateur job will only devalue your property. Limit your DIY to relatively straightforward things like painting and basic repairs.

2. NOT UNDERSTANDING THE CORRECT ORDER OF WORKS
So you’ve decided to project manage a complex kitchen or bathroom renovation yourself. Can you confidently say you know exactly what order all the various tasks (roughing in, tiling, plumbing, etc) should be done in? At what point you need all the different trades booked in and materials lined up? If not, you’re asking for chaos.
You’ll be paying tradies to stand around waiting for deliveries that should have been onsite days ago. Or making repeated trips when they could have knocked over the task in a couple of visits – if only you’d made sure all the necessary foundation work had been completed.
3. RIPPING EVERYTHING OUT AND STARTING FROM SCRATCH
Retain and recycle as much as you can. It saves on tipping costs, minimises the risk of uncovering costly remedial works, and it’s also much better for the environment.
4. NOT SETTING A BUDGET – AND STICKING TO IT!
Not drawing up a detailed budget leaves you vulnerable to overcapitalising or running out of money. Your budget needs to dictate the renovation – not the other way round. For a cosmetic renovation, I recommend you cap the cost at 10% of the total value of your property.

^ There were two unavoidable budget blowouts in this renovation with some rotting joists under the floor in a bedroom, and less-than-safe electricals . This is why it pays to factor in a little wiggle room for the unexpected.
5. NOT HAVING A CLEAR PLAN OF ACTION
There’s software you can use to track and manage the progress of a reno, even if it’s just a basic Excel spreadsheet that allows you to track your budget and timeline. For the students of my course I supply custom software. So there’s no excuse for simply freewheeling your way through a renovation.
TOP 10 RENO POINTERS
Below, pieces of advice I’ve cobbled together from over the years on the tools.
- Allow for delays (rain, tradies running behind, etc). People think it won’t happen to them! Be realistic people, and listen to those of us who are very experienced.
- Look for recommendations from friends or neighbours when it comes to finding good tradies. Always get a reference. Ask to see previous work and speak to other clients. If they don’t have a few to offer it’s perhaps because the reference would put you off!
- Always insist on a contract for ANY work. Read the contract carefully before signing.
- Research, research, research. It solves most problems! It pays to research and talk to anyone and everyone you meet, because you never know what advice they could offer.
- I’ve learned I get a better job and hire better people through having a thorough understanding of what a job entails. This way I can weed out not just people who are unqualified, but also people with whom I just cannot communicate.
- In relation to tiles: Tile stores are likely to insist that it’s your responsibility to make sure they’re delivered correctly, not theirs. So, I’d suggest checking the batch numbers yourself, and asking your tiler to double check and confirm (a good tiler would anyway). Plus, keep documented or photographic evidence that two checks were done. Then, if you end up with two different shades from supposedly the same batch, there’s supporting evidence of the checks.
- No builder can anticipate every problem that may occur or past issues your structure may have. Or you changing your mind after work has started; or having to change your mind due to unforeseen circumstances. CONTINGENCY PLAN P,EOPLE!
- The worst renos I’ve seen are invariably the ones that don’t start with a plan. I mean that literally. They don’t have a floor plan. It’s only after they start trying to install things they discover the door swing won’t physically clear the walls or the vanity they chose is too big for the room or the bed they bought can’t fit up the staircase, etc, etc. Number 1 piece of advice (even if you’re not getting design advice) get a floor plan drafted so you know where you’re going.
- If you’re renovating as a couple, allow time for fun during the process. I found my last relationship came to an end simply by working seven days a week for about eight months. If there are any cracks in your relationship, that kind of pressure will make them a lot wider.
- My mistake was replacing the laminate in the kitchen with beautiful stone benches, totally forgetting about the weight on the lovely timber floor. The timber floor moved and cracked so I had to put new piers under the kitchen floor. Such a rookie error. Moral of story: check out your sub floor FIRST.







Thank you for sharing such unique and useful information, and great article.